
As a store owner, when you are selling products globally (in multiple countries or regions), it becomes quite important to offer a multilingual website that allows online shoppers to change the default store language to their native language. The good news is that nopCommerce does support multi-language option that enables store owner (or administrators) to add / install multiple languages on the store site.
In this tutorial, we will cover these 3 topics:
- Adding a new language pack
- Adding a new custom string resource
- Localization settings
Adding a new language pack
In nopCommerce, your store can have several languages installed. However, the customers will only see the data that has been defined in their selected language.
NOTE: By default, the English language is installed.
To add a new language page, go to: Administration > Configuration > Languages
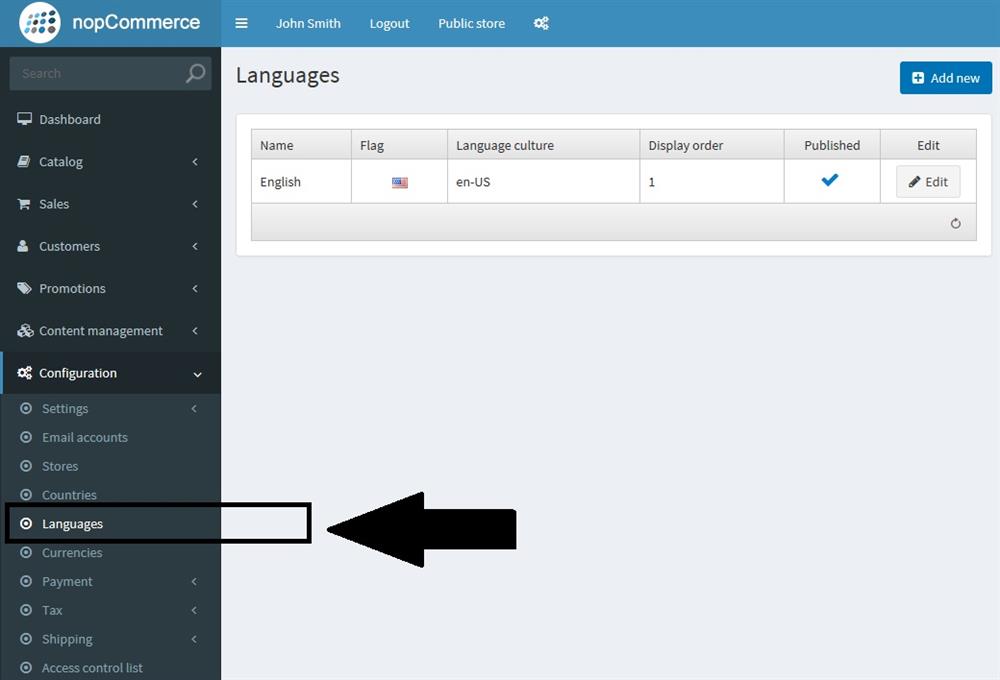
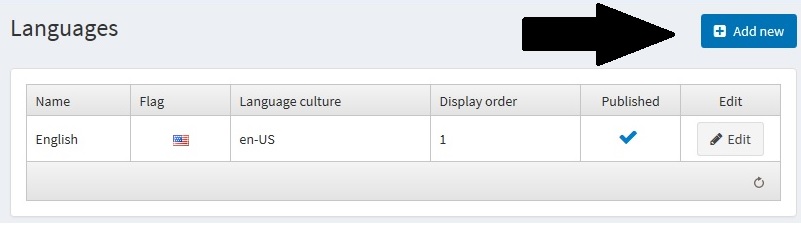
Now, click on "Add new" button:
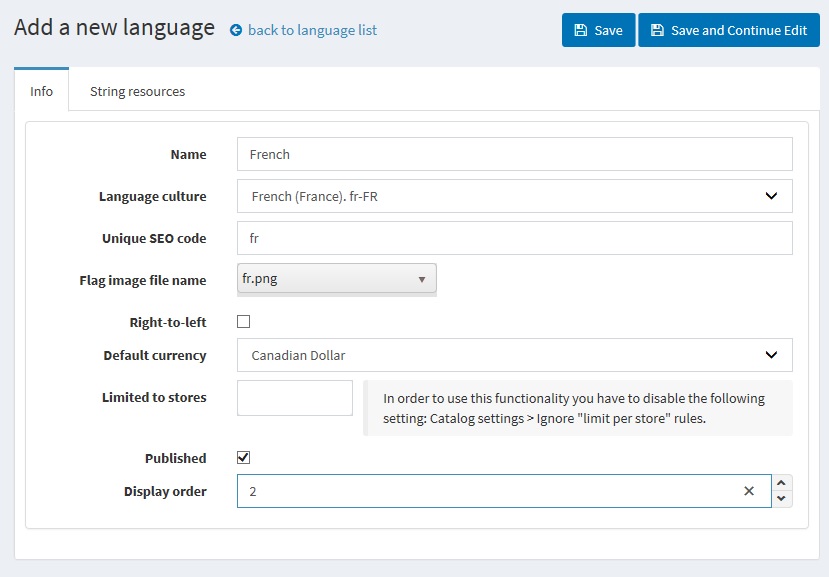
Name of the new language
Language culture - a specific language code (for example, de-AT for Austrian German)
Unique SEO code - a two letter language SEO code used to generate URLs like http://www.yourstore.com/en/ when you have more than one published language. Note: “SEO friendly URLs with multiple languages” option should be enabled in Configuration → Settings → General Settings → Localization settings tab.
Flag image file name - enter the flag image file name. The image should be saved under the …/images/flags directory. You can also choose an image from a predefined list.
Tick Right-to-Left if needed (for example, for Arabic, Hebrew, etc). Note: The active theme should support RTL (have an appropriate CSS style file). This option affects only the public store.
Default currency for a specific language. If not specified, then the first found one (with the lowest display order) will be used.
Limited to stores option allowing to set this language for a specific store(s). You can choose the store(s) from a pre-created list. Leave this field empty if you don’t use this option.
Publish the language, to enable this language to be visible and selected by visitors in your store.
Display order of the language. 1 represents the top of the list.
Click Save.
NOTE: If you can't find your language in this language dropdown, you can download new language packs from the official Marketplace.
In this example, I have added "French" as a secondary language to my nopCommerce store site.
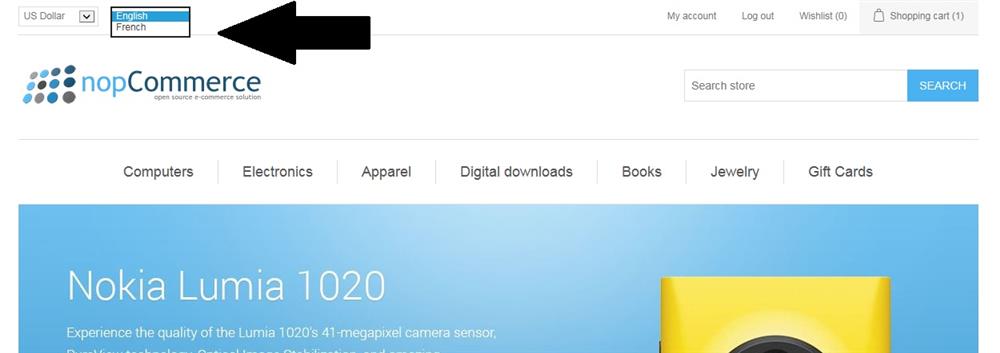
As soon as you save and publish the new language pack, go to your public store and you should see the new language in the dropdown menu like this:
Adding a new custom string resource
Now, that we have added a new language pack, let's look into the steps that are required to add a new string resource (for example, if you would like to add a text to any page that should change automatically based on the selected language along with the translation).
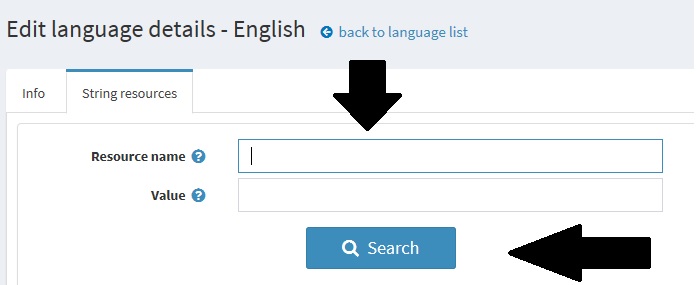
Select a language for which you would like to add a new string resource and open the tab "String resources".
In this example, we selected "English" language pack.
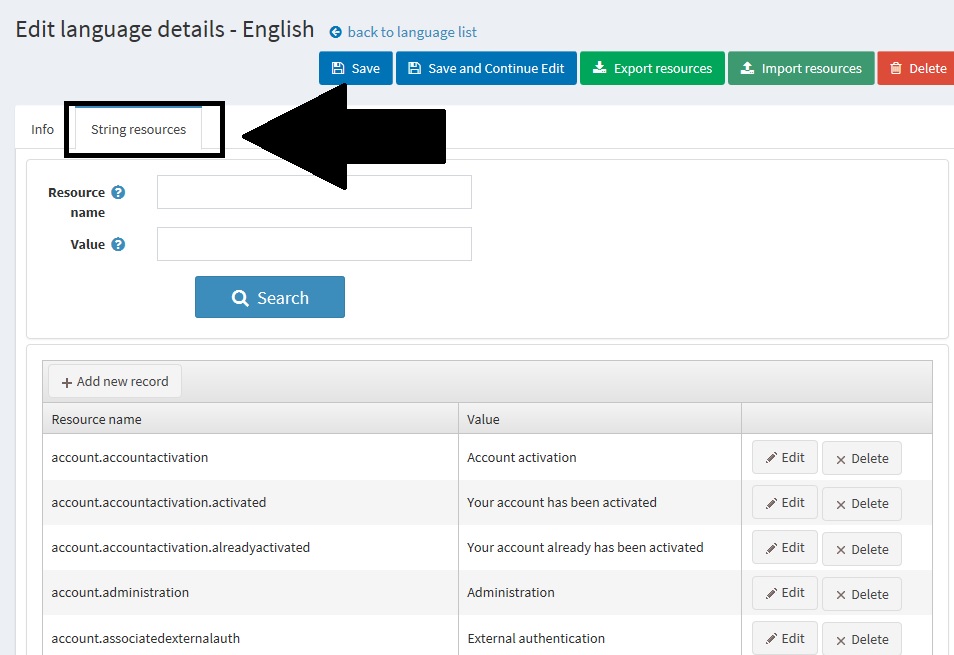
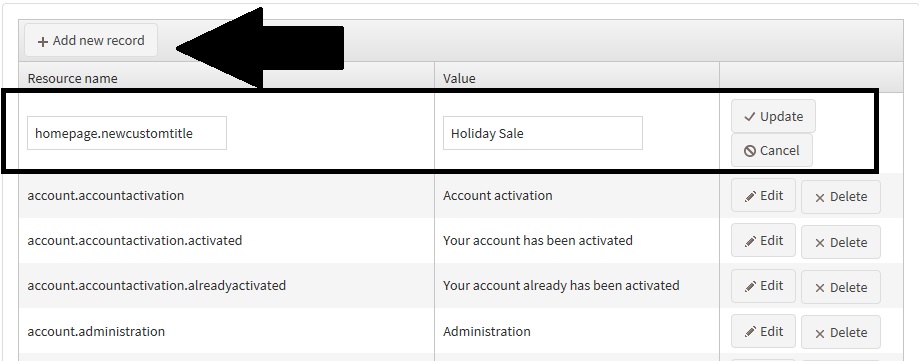
Click on the "Add new record" button and enter the information for the new custom string resource.
- In the Resource name field, enter the resource string identifier
- In the Resource value field, enter a value for this resource string identifier
Click UPDATE
Saving meaning, we have added your custom text for English language. Now, we have to repeat this process for adding the same resource (in other languages(s)).
Now, in order to add this custom string resource on your webpage, open the view file (in this case, we are adding it in homepage) so, we are going to open: Nop.Web/Views/Home/Index.cshtml
Add this line of code:
@T("homepage.newcustomtitle")
With the above code, the DIV on homepage view file looks like this:
<div class="page home-page">
    <div class="page-body">
        @Html.Widget("home_page_top")
        @Html.Action("TopicBlock", "Topic", new { systemName = "HomePageText" })
        <br/>
        <h1>@T("homepage.newcustomtitle")</h1>
        <br/>
        @Html.Widget("home_page_before_categories")
        @Html.Action("HomepageCategories", "Catalog")
        @Html.Widget("home_page_before_products")
        @Html.Action("HomepageProducts", "Product")
        @Html.Widget("home_page_before_best_sellers")
        @Html.Action("HomepageBestSellers", "Product")
        @Html.Widget("home_page_before_news")
        @Html.Action("HomePageNews", "News")
        @Html.Widget("home_page_before_poll")
        @Html.Action("HomePagePolls", "Poll")
        @Html.Widget("home_page_bottom")
    </div>
</div>
If we go to the public store and refresh the homepage, we should be able to see the text like this:

Note: This text will change with the language selection if you have saved all the translation as resource value in all language packs.
In your case, if you are not adding any new text and would like to simply change / update the existing text. You can do so by searching for an existing text value or resource name.
Localization settings
You know how to add a new language pack and how to add a new string resource. Now, let's look into some localization settings.
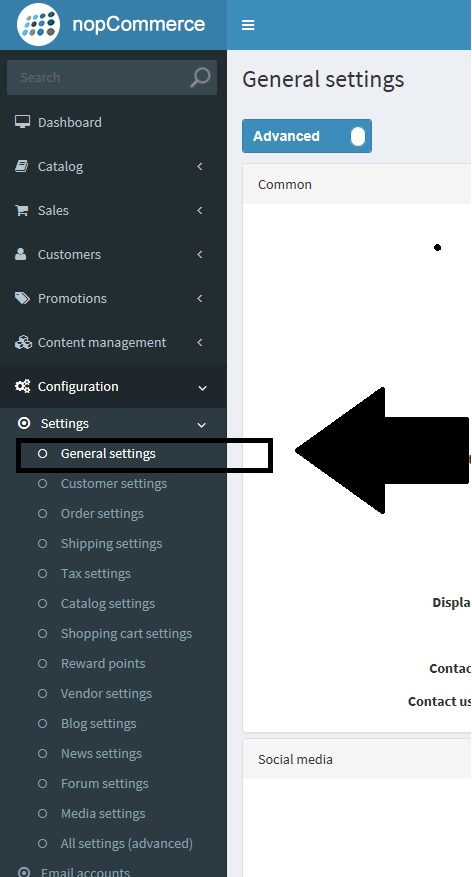
Go to: Administration > Configuration > Settings > General Settings
Scroll down and you will find the "Localization" settings:
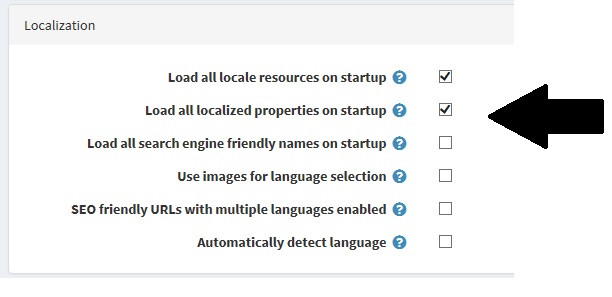
Load all local resources on startup to load all local resources on application startup
Load all localized properties on startup to load all localized properties on application startup
Load all search engine friendly names on startup to load all search engine friendly names on application startup
Use images for language selection to use images instead of language names
SEO friendly URLs with multiple languages enabled to allow SEO friendly URLs for all languages
Automatically detect language for detecting language based on customer browser settings.