Every online store offers some unique features / options that distinguish them from an another store site. For example: some online stores provide detailed description of the products they are offering and some do not, some online stores provide a ton of product pictures so that customer can view the product from every possible angle and some online stores choose not to display all the pictures.
When it comes to displaying information regarding the product on the product page, every store site have it's own requirement(s). In nopCommerce, we already have features that allow a store site to display product description, product SKU or product MPN (manufacturer part number) etc.
Today, we will go over the process of displaying (or adding) product ID on the product page in nopCommerce.
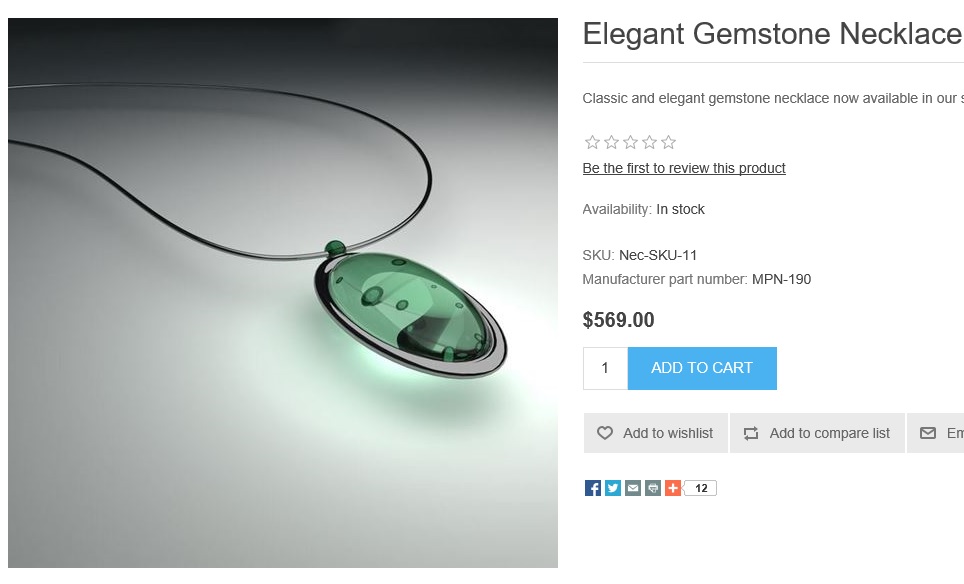
This is how the default (out of the box) product page looks like with SKU and MPN display enabled:
In order, to add "Product ID" to the product page, we will go to:
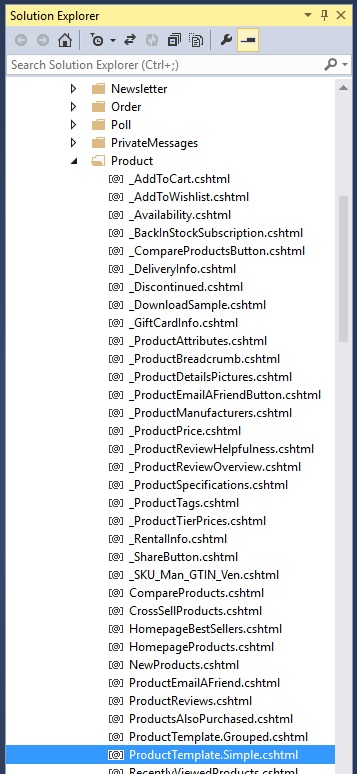
Nop.Web\Views\Product\ProductTemplate.Simple.cshtml
Open "ProductTemplate.Simple.cshtml" file and find this:
<!--SKU, MAN, GTIN, vendor--> @Html.Partial("_SKU_Man_GTIN_Ven", Model)
In this example, we are going to display/add the product ID information right below the SKU/MPN/GTIN.
Now, add product ID information in the code like this:
<!-- Adding Product ID Here --> <!--START--> <p><strong>Product ID:</strong> @Model.Id </p> <!--END-->
This is how the code looks like in the product template:
@Html.Widget("productdetails_overview_top", Model.Id) <!--product reviews--> @Html.Partial("_ProductReviewOverview", Model.ProductReviewOverview) <!--manufacturers--> @Html.Partial("_ProductManufacturers", Model.ProductManufacturers) <!--availability--> @Html.Partial("_Availability", Model) <!--SKU, MAN, GTIN, vendor--> @Html.Partial("_SKU_Man_GTIN_Ven", Model) <!-- Adding Product ID Here --> <!--START--> <p><strong>Product ID:</strong> @Model.Id </p> <!--END--> <br/><br/> <!--delivery--> @Html.Partial("_DeliveryInfo", Model) <!--sample download--> @Html.Partial("_DownloadSample", Model)
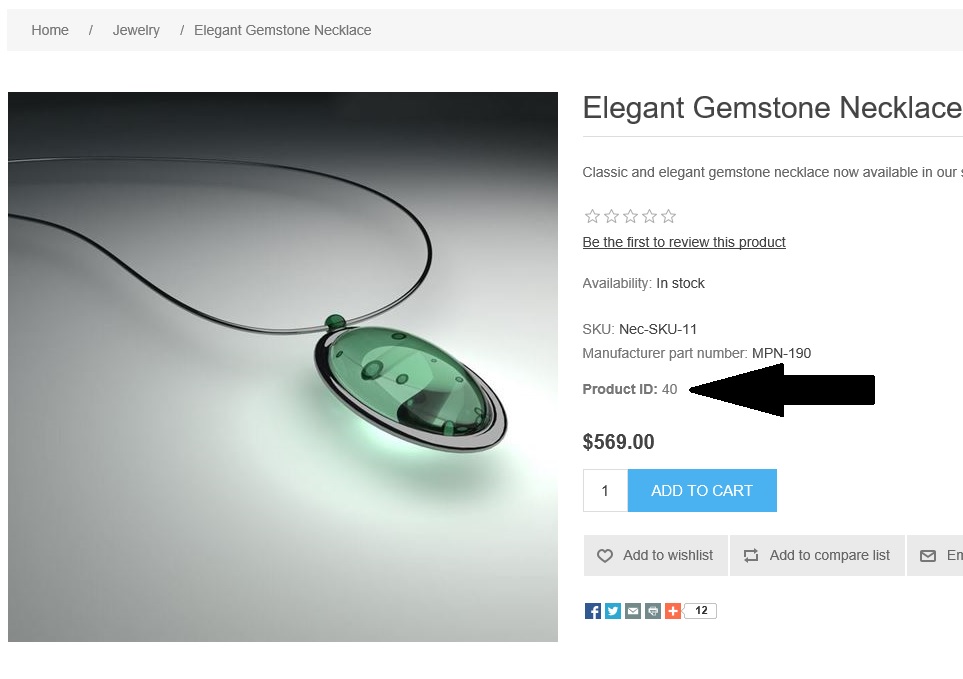
Save changes and view the product page on the public store:
A copy of this article is also available on Arvixe Blog.