RSS

Blog posts of '2015' 'September'

How to re-assign an email address if you have deleted a customer in nopCommerce

Written by Lavish Kumar

written by Lavish Kumar

Today, we will go over the process of re-assigning an email address if you have deleted a customer in nopCommerce. A lot of nopCommerce users might be aware of the fact that nopCommerce out of the box does not allow store owner to add a new customer with an email address that was deleted in past. Why? The reason is quite simple, the record is never deleted permanently in nopCommerce. When a store admin deletes a customer's account, the record is marked as "deleted" which means the email address stays in the database.
How to change background color of top menu in nopCommerce

Written by Lavish Kumar

written by Lavish Kumar

nopCommerce comes with a free default clean theme that fulfills most of the store owner's needs as it is a clean, responsive and modern theme. But, there are times when you need to modify the default style, layout or colors in order to make your site look a bit different from other websites. In some cases, the reason is purely brand related as you need your website to reflect the same colors as your brand logo.

Today, we will go over the process of changing background color of top menu in nopCommerce.
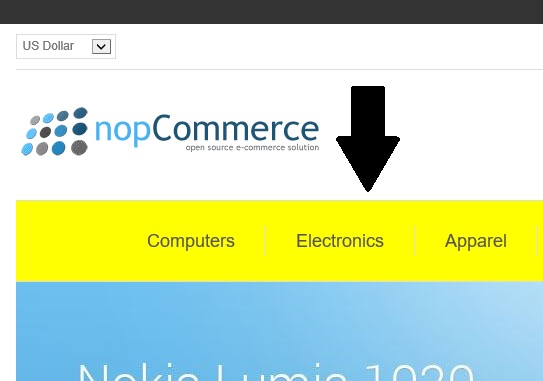
nopcommerce top menu
How to add language code in the site URL in nopCommerce

Written by Lavish Kumar

written by Lavish Kumar

As a store owner, when you are selling products in multiple countries (or regions), it becomes quite important to offer a multilingual website that allows online shoppers to change the default store language to their native language. The good news is that nopCommerce does support multi-language option that enables store owner (or administrators) to add / install multiple languages on the store site.

Today, we will go over the process of adding language code in the site URL in nopCommerce.
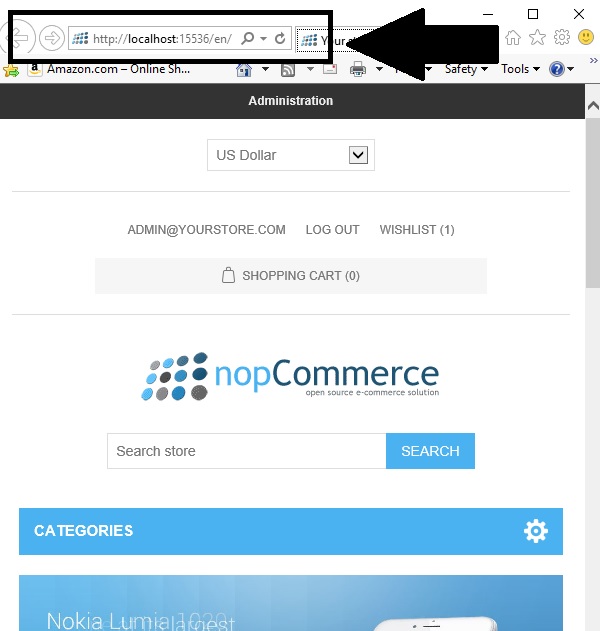
nopcommerce language url
How to setup a vendor account in nopCommerce

Written by Lavish Kumar

written by Lavish Kumar

nopCommerce offers a great feature of "multi-vendor" that allows the store owner to sell products from multiple vendors. One of the main advantages of having a multi-vendor support on your store site is that you as a store owner do not have to worry about maintaining a stock inventory.  With the help of access control list (ACL), you can create an account for vendors and give them limited access to the administration. Hence, vendors can manage their product catalog, orders and shipments.

When an order is placed for an items that was listed by a vendor on your store site, an email is sent directly to the vendor as a notification to process the order and ship the item(s). Each vendors get an access to their products in the administration section along with sales reviews.

Setting up a vendor account is a 2 step process
How to bulk delete images for a product in nopCommerce

Written by Lavish Kumar

written by Lavish Kumar

nopCommerce offers a variety of features to manage the product catalog such as adding categories, adding products, mass product import, mass update and much more. You can't call a product page user-friendly if it does not have an image of the product itself. nopCommerce got your back, you do have an option to import images for each product via import or you can manually add pictures to your product.

What if you have added a lot of pictures for each product on your store site to make it user-friendly and attractive but you encounter a situation in which you have to delete all those pictures in bulk for several products? Majority of store owners would have to spend hours deleting pictures one by one for each product because nopCommerce does not offer any option out of the box to delete product pictures in bulk.

Today, we will discuss a workaround that can save your time and effort to bulk delete images for a product (or products).
How to add scroll to top button in nopCommerce

Written by Lavish Kumar

written by Lavish Kumar

Adding a "scroll to top" (or back to top) button on your store site is a great way to allow users to easily navigate on long scrolling pages. The main aim behind adding this button to your site is that when a user scroll past a certain point, a button appear that enables the users to go back at the top of a page.

On majority of the websites, this kind of button is usually placed on either the lower right of the page or in the website footer to make it easier for users to go back at the top of the page on a single click.

Today we will go over the process of adding this button in nopCommerce based site.
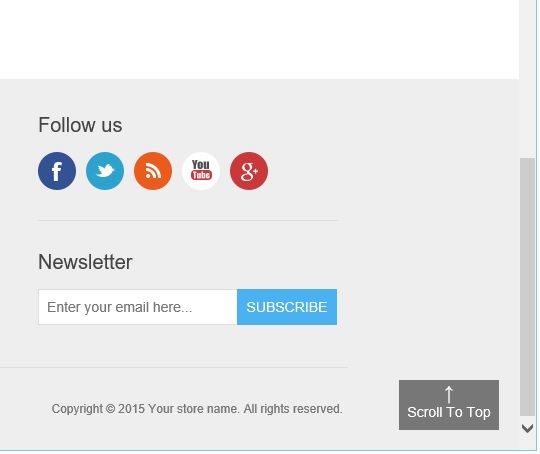
nopcommerce scroll to top