This beginner’s guide to nopCommerce theme development will introduce you to the basics of creating a nopCommerce theme. This post is aimed at beginners, it does presume that you have a basic knowledge of nopCommerce and you are familiar with HTML & CSS. Any front-end developer(s) will also be able to benefit from this post.
A theme is a collection of property settings that allow you to define the look of pages and controls, and then apply the look consistently across pages in a Web application, across an entire Web application, or across all Web applications on a server. Themes are made up of a set of elements: skins, cascading style sheets (CSS), images, and other resources. At a minimum, a theme will contain skins. Themes are defined in special directories in your Web site or on your Web server.
A theme can also include a cascading style sheet (.CSS file). When you put a .CSS file in the theme folder, the style sheet is applied automatically as part of the theme. You define a style sheet using the file name extension .CSS in the theme folder. (Source: http://msdn.microsoft.com)
What is a theme in nopCommerce?
A nopCommerce theme is a collection of files that can easily change the design of your website including its layout. A theme is used for having a consistent layout and appearance across all pages or an entire website. nopCommerce theme consists of several supporting files, including style sheets for page appearance and supporting images. A nopCommerce theme is only intended to change the look on the front-end (public store), i.e. what an online visitor sees when they browse your store site.
What can themes do on nopCommerce site?
· Theme(s) can display the content and data stores by your nopCommerce in a defined manner (as per the requirements of the store site)
· Theme(s) can change the layout of your nopCommerce site: static or responsive and one column layout or two column layout
·Theme(s) can offer a consistent user experience across multiple devices for your nopCommerce store site (across multiple platforms/devices)
· Theme(s) can customize the typography and design elements via CSS
Structure of theme folder in nopCommerce (what's required)
In order to work with nopCommerce, it is important to understand the structure of the files and folders.
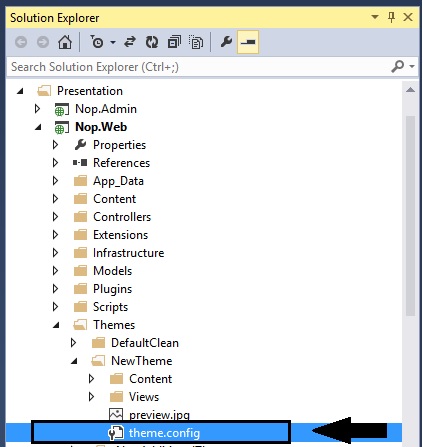
Location of theme(s) in nopCommerce: All themes are located under nopCommerce root folder/Themes/
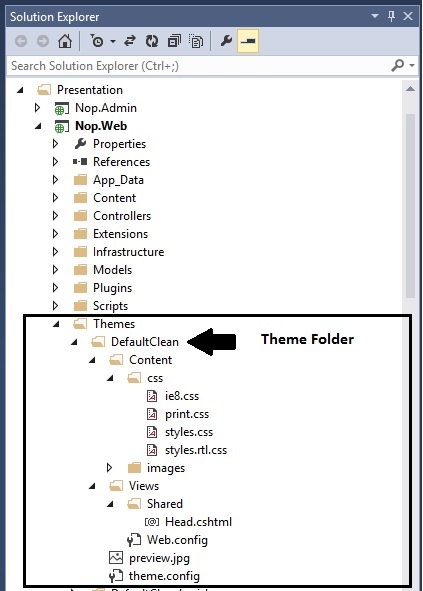
Content Folder: It consists of all the stylesheets and images
Views Folder: It consists of all the MVC razor views (i.e. web pages that contain the HTML markup and server side code)
preview.jpg Image File: Thumbnail (or a screenshot) of your theme that can be used a preview
theme.config File: This files consists the theme information such as theme name and its description.
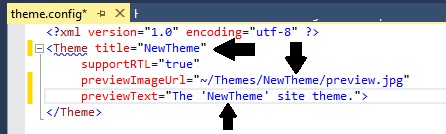
Here is an example of “theme.config” file:
<?xml version="1.0" encoding="utf-8" ?><Theme title="Default clean" supportRTL="true" previewImageUrl="~/Themes/DefaultClean/preview.jpg" previewText="The 'DefaultClean' site theme."></Theme>
Difference between a nopCommerce theme and a nopCommerce plugin
A nopCommerce theme controls the overall presentation of the store site (i.e. public store) whereas a nopCommerce plugin is used to extend the functionality of nopCommerce site.
While creating a nopCommerce theme, it is important to keep one in mind that a theme should not add any kind of critical functionality to the site. If a theme adds any kind of important functionality, that feature can be lost if a store admin changes the store theme.
How to install and apply a theme in nopCommerce
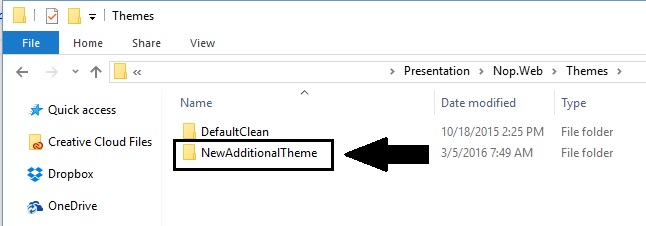
Let's assume you just downloaded a new theme which is in a zip file.
Extract the contents of your zip file and copy it under "Themes" folder like shown in the figure below:
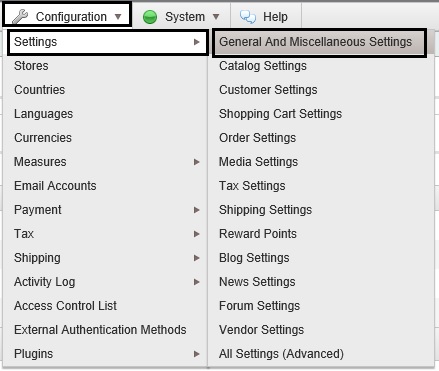
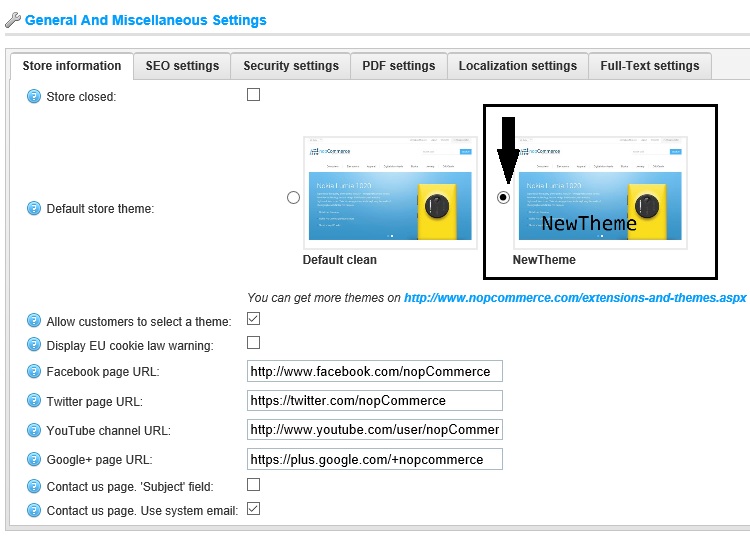
In order to apply this new theme, go to: Administration > Configuration > Settings > General And Miscellaneous settings
Note: You can also go to this URL to access administration section - http://www.yourdomain.com/admin
Select new theme from the “Default Store Theme” and click Save.
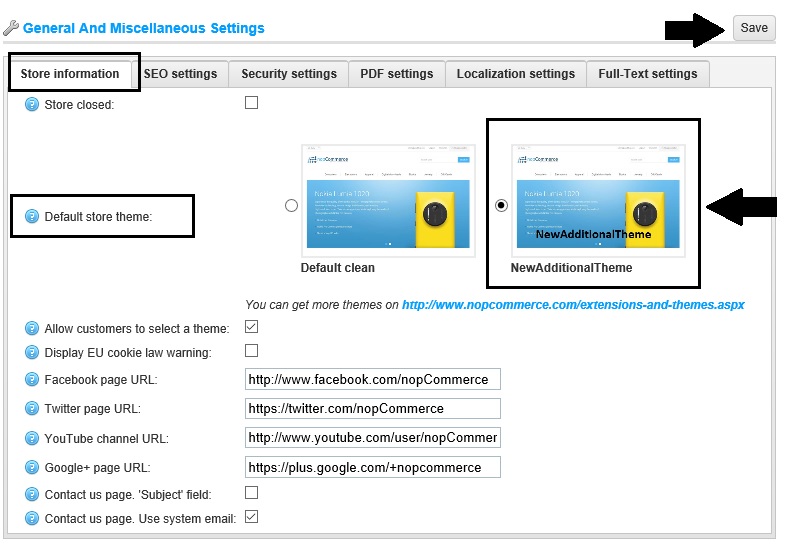
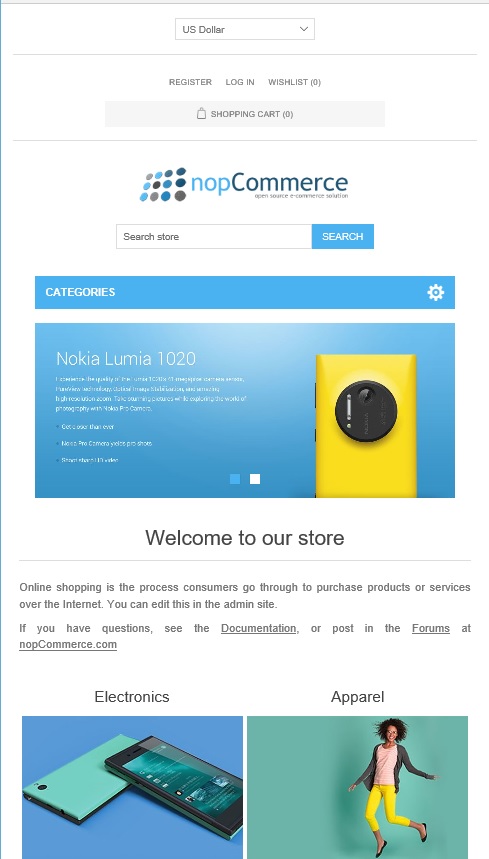
Now, go to public store. You should be able to see the new theme on your website.
Right-to-left Theme Overview
nopCommerce also supports right to left version of the public store theme. nopCommerce default public store theme "DefaultClean" comes with the feature of right to left version style sheet. If you are creating your own theme then you can do so by overwriting all the horizontal positioning attributes of your CSS stylesheet (styles.css) and save it in a separate stylesheet by naming it as “styles.rtl.css”.
To enable "Right to Left" version of theme (as long as your theme supports it), go to:
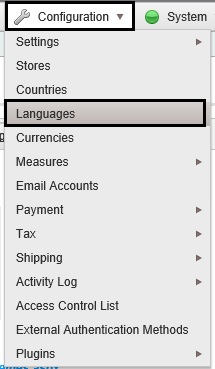
Administration > Configuration > Languages
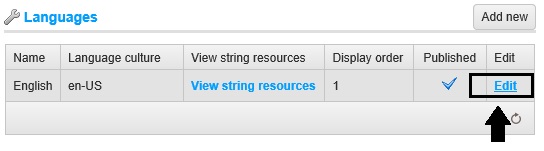
Click on "Edit" a language:
Now, make sure that "Right-to-Left" option is enabled.
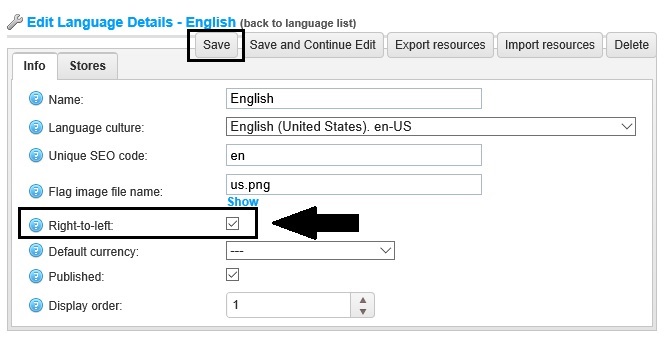
Note: The active theme should support RTL (have appropriate CSS style file) and it affects only public store.
Creating / Writing your own theme (using current / default theme)
Open your nopCommerce solution or website (web version) in Visual Studio - Go to this location:
- If using sourcecode: \Nop.Web\Themes\
- If using web version: \[Project Root]\Themes\
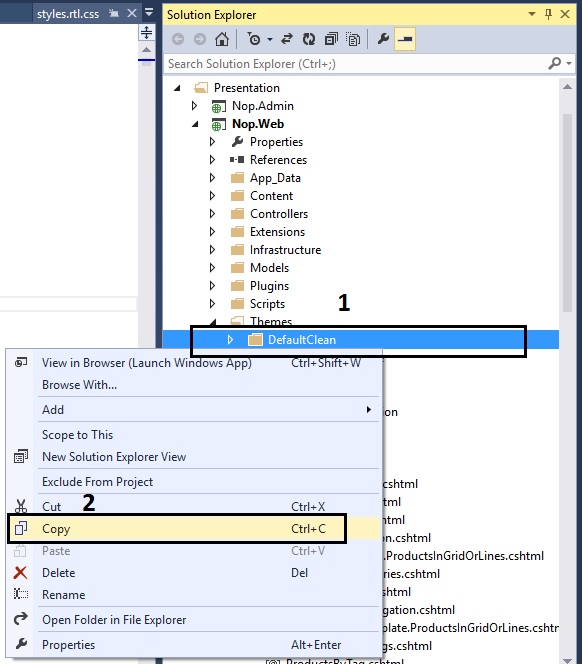
1) Select any default / current theme
2) Right click on the theme > select COPY
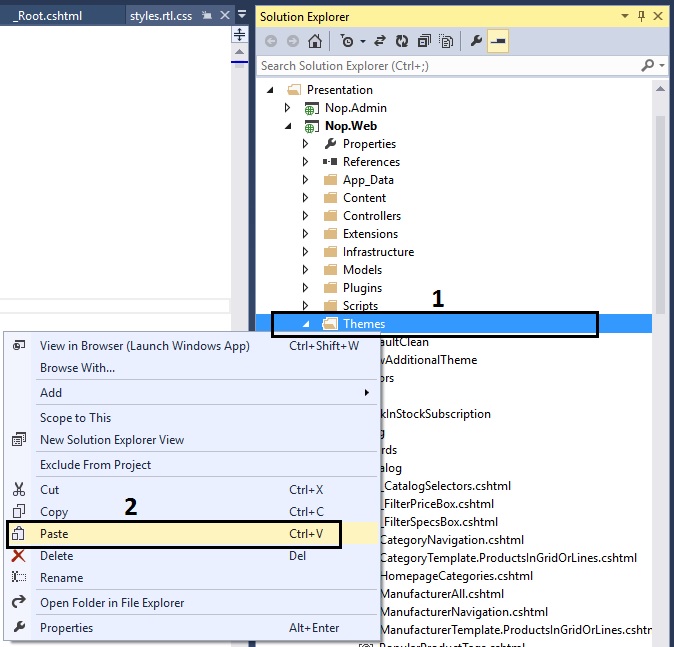
3) Select "Theme" folder > Right click > PASTE
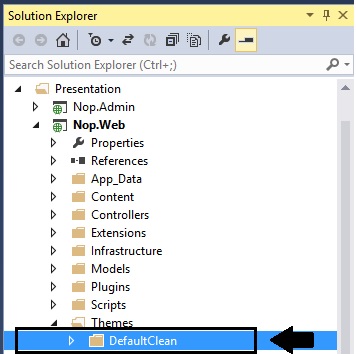
4) You will get something like " DefaultClean - Copy"
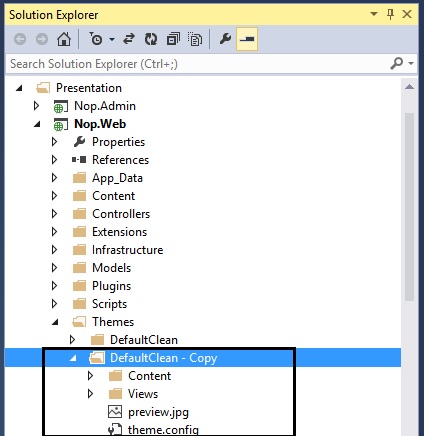
5) Rename it - whatever you like to be the name of your new theme – For an instance, let's say: NewTheme
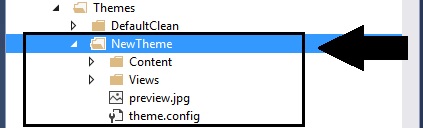
6) Now inside your New theme folder "NewTheme" > open "theme.config"
7) Change the current / existing theme name with your new theme name "NewTheme"
8) Now, inside your new theme folder "NewTheme" > Content > Images add your new images in "images” directory and start updating / customizing your style.css according to your requirements.
If you would like to test the changes > Go to Admin section > Apply your new theme > Save change and preview your public store.
Understanding Responsive Design
Responsive Web Design is simply a design of a website that changes its layout according to different screen sizes in order to fit the content properly when it comes to a desktop, smartphones, tablets and other mobile devices. In this definition, there is a keyword here “properly” – In this context, by “properly”, it means consistent. While working on a responsive design, the web developers have to make sure that the user experience of a website remains consistent throughout all the devices, irrespective of their screen size.
nopCommerce default theme (DefaultClean) does support a responsive design out of the box that is optimized for all screen sizes and this approach is handled via media-queries in the CSS. This allows your online ecommerce store layout to display the content of your website by automatically adjusting the viewing area depending on the size of the screen.
· Here you can browse all nopCommerce themes: nopCommerce Themes & Templates
• nopCommerce Version (used in this article): Version 3.70
- Part 2: Click Here
These aspects of nopCommerce theme development will be covered PART-2 of this guide:
- Views
- Override views
- Layouts
- Adding JS & CSS references
- Customization
There is a "Part-2" of this article that covers other topics in regard to theme development, you can read it here:
http://www.strivingprogrammers.com/Blog/post/Lavish-Kumar/4126/Beginners-Guide-to-nopCommerce-Theme-Development-ASP-NET-MVC-Based-e-Commerce-Solution-%E2%80%93-Part-2/
These two parts basically covers most aspects of nopCommerce theme development and can be considered as advanced documentation. Topics like bootstrap integration cannot be a part of the main documentation because nopCommerce is "not" based on bootstrap framework out of the box. Hence, any kind of integration is considered as a custom requirement (not part of the main documentation).
I hope it helps - Please let me know if you have any question(s).
shows the old theme slider why ????????
Slider is not part of the theme. Nivo slider is a a widget plugin that can be configured in:
Configuration > Widgets Nivo Slider