In the first part of this series, Beginner's Guide to nopCommerce Plugin Development, we learned the basics of nopCommerce plugin including how to develop a sample test plugin. The main aim of this series is to create a definitive guide so that you have a single point of reference for properly developing your custom plugins.
To continue with the series, today we will go over some advanced features and functionality that any developer can accomplish by nopCommerce plugin.
These are the topics that will be covered in this article:
- How to add a menu item from your custom plugin into the administration section
- How to override a default view from your customer plugin
- How to add JS and CSS references in your custom plugin
How to add a menu item from your custom plugin into the administration section
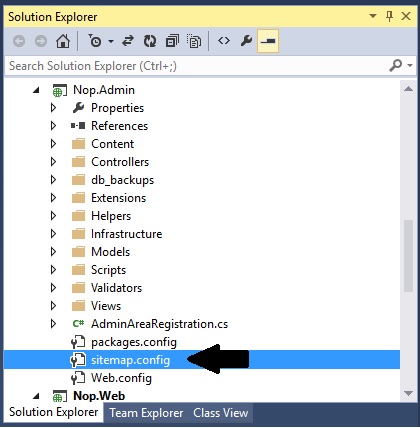
Basically, all the menu items that we see in the nopCommerce administration section are built from the sitemap.config file which is location in the Nop.Admin folder:
In order to add a menu item from your custom plugin into the administration section, first we need to implement IAdminMenuPlugin in the plugin’s main class.
This is the original code of our plugin class in “MyCustomPlugin.cs”
public class MyCustomPlugin : BasePlugin, IMiscPluginWe will add IAdminMenuPlugin like this:
public class MyCustomPlugin : BasePlugin, IAdminMenuPlugin, IMiscPluginAlong with this, we also need to reference the “Nop.Web.Framework.Menu” like this:
using System;using System.Collections.Generic;using System.Linq;using System.Text;using System.Threading.Tasks;using System.Web.Routing;using Nop.Core.Plugins;using Nop.Services.Common;using Nop.Web.Framework.Menu;Now, we will add the menu item by adding this code in “MyCustomPlugin.cs”:
public void ManageSiteMap(SiteMapNode rootNode) { var menuItem = new SiteMapNode() { SystemName = "MyCustomPlugin", Title = "MyCustomPlugin Title", ControllerName = "MyCustomPlugin", ActionName = "Configure", Visible = true, RouteValues = new RouteValueDictionary() { { "area", null } }, }; var pluginNode = rootNode.ChildNodes.FirstOrDefault(x => x.SystemName == "Third party plugins"); if (pluginNode != null) pluginNode.ChildNodes.Add(menuItem); else rootNode.ChildNodes.Add(menuItem); }
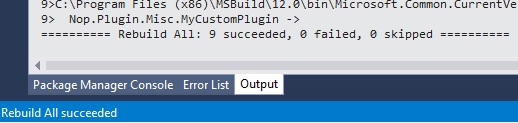
Let’s rebuild the plugin and go to the administration section on the website:
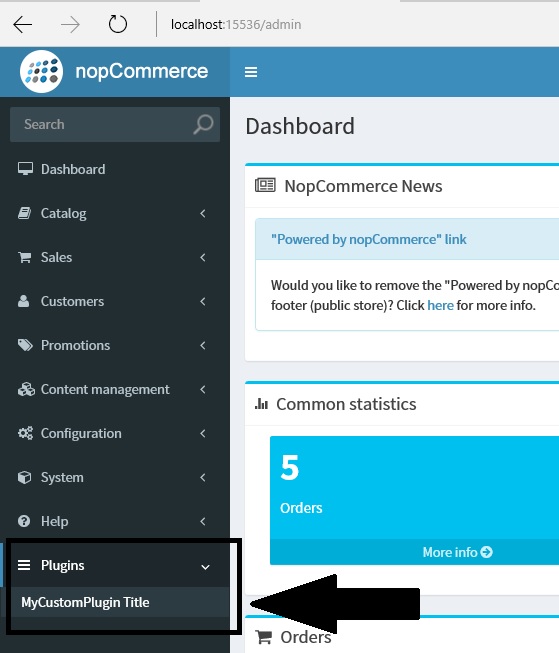
We can see our menu item here:
How to override a default view from your customer plugin
This is one of the most common question developers ask on nopCommerce forums, as many see this as a complex task. But, the reality is that it is quite easy and straight-forward to override a default view by a custom nopCommerce plugin as long as you have a good understanding of ASP.NET MVC and nopCommerce files structure.
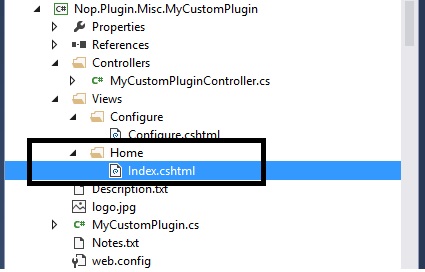
In this article, we will try to override the default homepage view which you can find in this location:
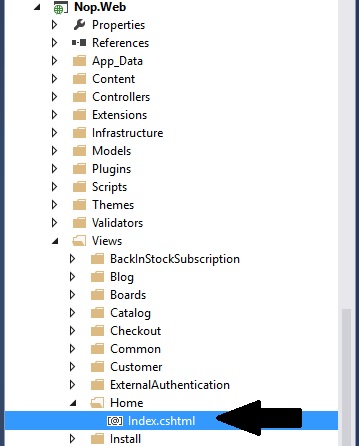
Let’s create a “Home” folder inside the “View” folder of your custom plugin and simply paste the default home view (Index.cshtml) from Nop.Web like this:
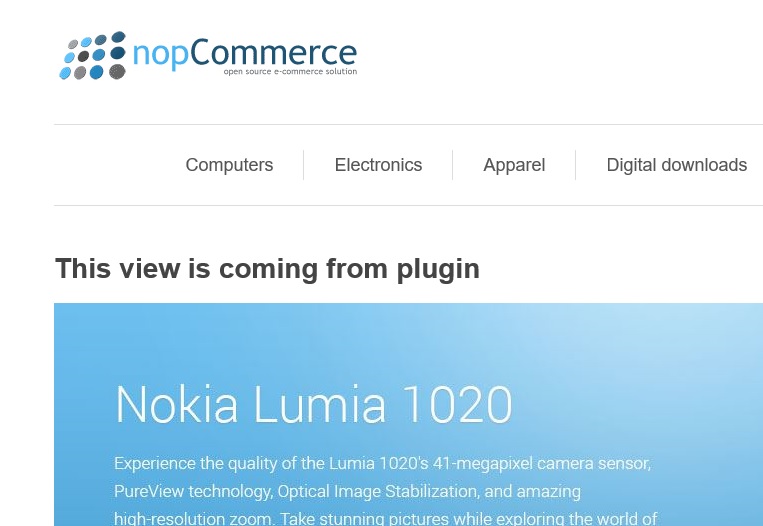
Now, we will add a test heading in the home view so that we know which view is coming from plugin.
<h1>This view is coming from plugin</h1>
The home view code looks like this in the plugin:
@using System;@using System.Collections.Generic;@using Nop.Core.Domain.Seo;@using Nop.Core.Infrastructure;@using Nop.Web.Framework.UI;@using System.Web.Mvc;@using Nop.Web.Framework;@using Nop.Web.Framework.Mvc;@{ Layout = "~/Views/Shared/_ColumnsOne.cshtml"; //page class Html.AppendPageCssClassParts("html-home-page");}<div class="page home-page"> <div class="page-body"> <br /> <h1>This view is coming from plugin</h1> <br/> <br/> <br/> @Html.Widget("home_page_top") @Html.Action("TopicBlock", "Topic", new { systemName = "HomePageText" }) @Html.Widget("home_page_before_categories") @Html.Action("HomepageCategories", "Catalog") @Html.Widget("home_page_before_products") @Html.Action("HomepageProducts", "Product") @Html.Widget("home_page_before_best_sellers") @Html.Action("HomepageBestSellers", "Product") @Html.Widget("home_page_before_news") @Html.Action("HomePageNews", "News") @Html.Widget("home_page_before_poll") @Html.Action("HomePagePolls", "Poll") @Html.Widget("home_page_bottom") </div></div>
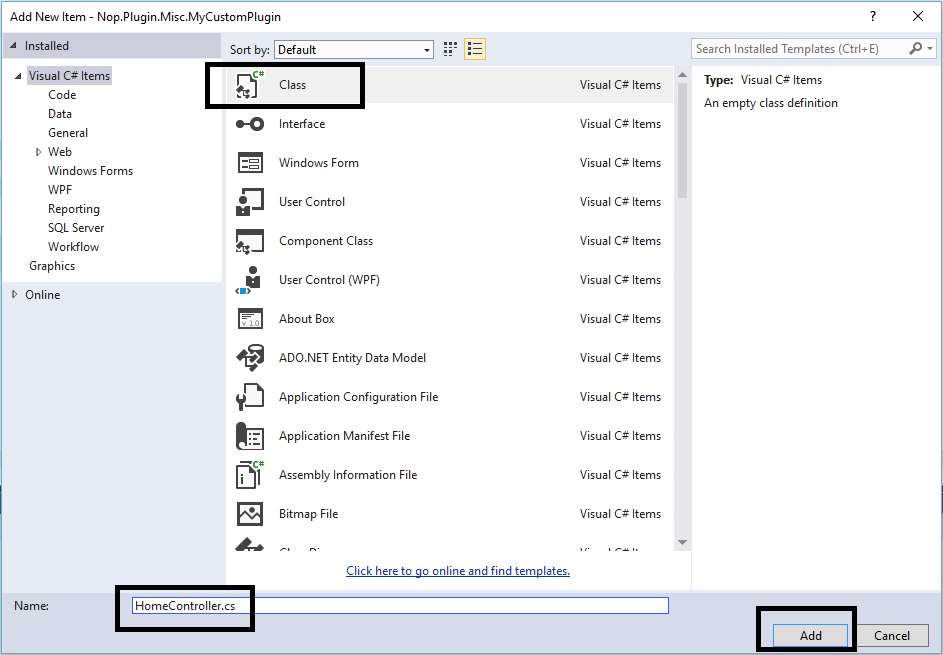
Now, we will add a controller for home page like this:
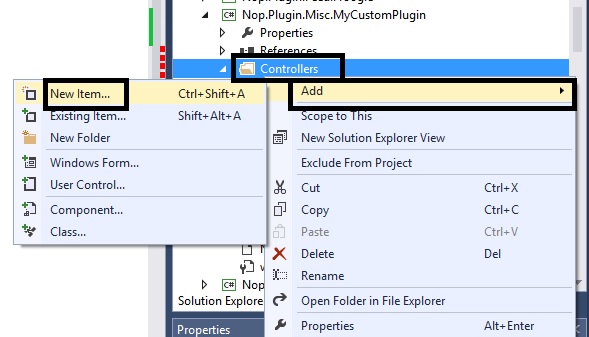
Let’s name the controller same as default homepage controller “HomeController.cs”
In our HomeController, we will add the action that points to the Index.cshtml view like this:
using System;using System.Collections.Generic;using System.Linq;using System.Text;using System.Threading.Tasks;using System.Web.Mvc;using Nop.Web.Framework.Security;using Nop.Web.Framework.Controllers;using Nop.Web.Framework;namespace Nop.Plugin.Misc.MyCustomPlugin.Controllers{ public class HomeController : BasePluginController { [NopHttpsRequirement(SslRequirement.No)] public ActionResult Index() { return View("~/Plugins/Misc.MyCustomPlugin /Views/Home/Index.cshtml"); } }}
Just like we have RouteProvider in Nop.Web, we will create a “Infrastructure” folder and “RouteProvider.cs” in our custom plugin like this:
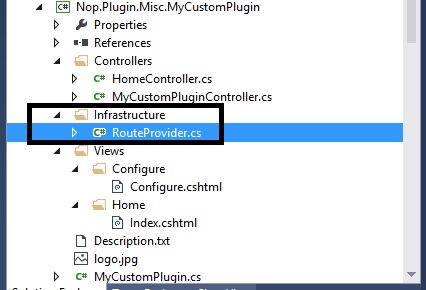
In “RouteProvider.cs”, we will register the route for your custom home page:
public void RegisterRoutes(RouteCollection routes) { routes.MapLocalizedRoute("HomePagePlugin", "", new { controller = "Home", action = "Index" }, new[] { "Nop.Plugin.Misc.MyCustomPlugin.Controllers" }); }
In “RouteProvider.cs” again, we need to mention the priority so that plugin home view can override the default home view:
public int Priority { get { return int.MaxValue; ; } }This is the complete code for “RouteProvider.cs”:
using Nop.Web.Framework.Mvc.Routes;using System;using System.Collections.Generic;using System.Linq;using System.Text;using System.Threading.Tasks;using System.Web.Routing;using System.Web.Mvc;using Nop.Web.Framework.Localization;namespace Nop.Plugin.Misc.MyCustomPlugin.Infrastructure{ public class RouteProvider : IRouteProvider { public void RegisterRoutes(RouteCollection routes) { routes.MapLocalizedRoute("HomePagePlugin", "", new { controller = "Home", action = "Index" }, new[] { "Nop.Plugin.Misc.MyCustomPlugin.Controllers" }); } public int Priority { get { return int.MaxValue; ; } } }}
Note: Make sure the output directory (in properties) for your home view (Index.cshtml) is defined as “Copy if newer”
Rebuild your plugin and try going to your public store (since your plugin is already installed)
We should see the plugin view overriding the default home view like this:
How to add JS and CSS references in your custom plugin
In order to load the JS and CSS reference in your custom plugin, you need to add the references in your plugin’s view file.
In order to load your resource files correctly in the view pages, you can use the following helper methods:
- Html.AddScriptParts(): For loading JS files
- Html.AddCssFileParts(): For loading CSS files
All you need to do is, place these in your view file with the defined path of the resources like this:
//For JS //Third parameter value indicating whether to exclude this script from bundlingHtml.AddScriptParts(ResourceLocation.Foot, "~/Plugins/{PluginName}/scripts/JS_file.js", true); //Loading CSS fileHtml.AddCssFileParts(ResourceLocation.Head, "/Plugins/{PluginName}/Content/{CSSFileName.Css}");I hope everyone find this article (Plugin development guide) helpful. Please feel free to ask any questions.
nopCommerce can be download here: http://www.nopcommerce.com/downloads.aspx
nopCommerce Version (used in this article): Version 3.80
I got this error
An exception of type 'System.Web.HttpException' occurred in System.Web.dll but was not handled in user code
Additional information: Failed to map the path '/Plugins/Misc.MyCustomPlugin /Views/Home/Index.cshtml'.
I have tried what you have told for overriding home page but it is not overriding please help me how to do
How did you create your plugin? Did you follow all the steps mentioned in the part-1 of this article? Here is the link: http://www.strivingprogrammers.com/Blog/post/Lavish-Kumar/2122/Beginners-guide-to-nopCommerce-plugin-development-ASP-NET-MVC-based-e-Commerce-solution/
Please make sure you have followed all the steps correctly mentioned in "Part-1" and "Part-2" of this article.
Let me know if you have any question(s) and I will help you.
return View("/Plugins/Misc.MyCustomPlugin /Views/Home/Index.cshtml");
Not sure if that is tripping anybody up, but I thought that I'd mention. Great tutorial, thx!
Thank you for your comments! Great catch - you are absolutely correct, I did find a space in the code while copying it. I will correct it in this article :)
I think the nop "newbie" community would benefit greatly from more tutorials like this. This step by step details with the screenshots and exact code is exactly what developers coming from different technologies need to get us going.
These are the next type of tutorials that I'm looking for:
1. Add on logic to the Controller that pulls data from an existing Model. Update the View to show this data. This could be as simple as pulling a list of Product Names.
2. Add on logic to the Controller that pulls data from a basic SQL Query. Update the View to show this data. This could also pull a list a Products, but shows how to do it by not going through a Model. This technique could be useful for developers (like me) that want to pull data for another SQL Server via a "Linked Server".
3. Add on logic to the Controller that pulls data from a basic SQL Stored Procedure Query. Update the View to show this data.
4. Extend an existing Model and add logic to the controller that pulls that extension. Update the View to show this data.
I would be more than happy to help out with some of the more time consuming stuff (like adding the screenshots and the exact steps).
What do you think?
-Robert
Thank you for your feedback - I am glad you find these articles helpful :)
Thank you for the suggestions / topics, I will certainly write articles on the requested topics in future so keep following the website.
Lavish
In VS Enterprise 2015, how can I copy References from another Plugin to my Plugins / Misc.MyCustomPlugin? Thanks for your effort.
You can simply copy the path / location of each reference from other or default nopCommerce plugin(s) by going to reference properties and use that path to add that reference to your custom plugin.