I hope you got some good usage out of my 1st installment of "Handy NopCommerce Hacks You Can Do Without Plugins" series. In case you missed it, you can find the "Part -1" of this series HERE.
- Part 1: Click Here
- Part 2: Click Here
nopCommerce is one of the most widely used e-Commerce solutions in .NET framework and it is backed by a very active and helpful community. There is no shortage of ways in which you can tweak your nopCommerce site as per your requirements / needs. There are many times you come across a feature and you start thinking how you can get the same feature on your nopCommerce store site. You can always find a 3rd party theme or a plugin that matches your needs as nopCommerce community offers 1250+ extensions. But, in some cases you can simply tweak your nopCommerce site (source code) and accomplish the same results (i.e. feature) without any plugin.
Displaying customer's name on homepage to add a personal touch
When you go to a coffee shop and someone asks you - "Would you like to try our new coffee flavor?", the first thing that comes to your mind is, it's an advertisement (nothing special about it). But, if you go to a coffee shop and someone asks you "the usual?", it gives you a feeling personal touch. It is always nice to be remembered because if makes you feel special.
You can imagine the homepage of an e-Commerce site as a cash register where you will see banners, advertisements and sometimes you are asked to try a new product (just like the coffee shop). There is nothing new about it because you will find the same approach on every other e-Commerce website. But, when the website remembers you and displays your name saying "Welcome John", it makes you feel like an online business is going one step extra to add personal touch to the store site.
Creating personalized online experience has a high impact on ROI (Return on investment).
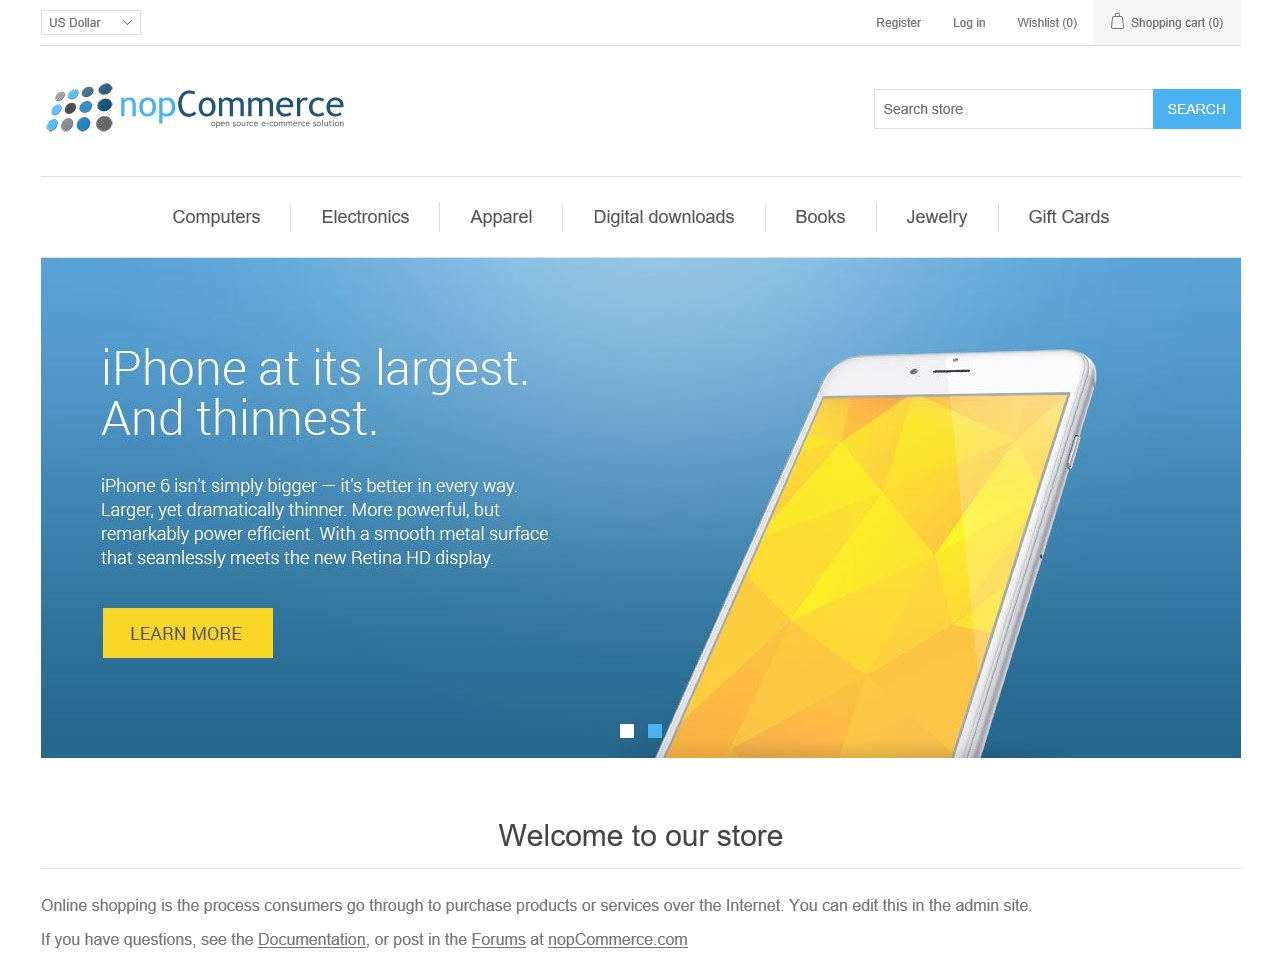
This is how the default homepage looks like in nopCommerce:
Hack (Solution)
Go to: Nop.Web/Views/Home/Index.cshtml
Add the following code at the top of your (homepage) view page "Index.cshtml"
@using Nop.Core@using Nop.Core.Domain.Customers@using Nop.Core.Infrastructure@using Nop.Services.Common
After adding the above code, your Index.cshml page should look like this:
@using Nop.Core@using Nop.Core.Domain.Customers@using Nop.Core.Infrastructure@using Nop.Services.Common@{ Layout = "~/Views/Shared/_ColumnsOne.cshtml";}<div class="page home-page"> <div class="page-body"> @Html.Widget("home_page_top") @Html.Action("TopicBlock", "Topic", new { systemName = "HomePageText" }) @Html.Widget("home_page_before_categories") @Html.Action("HomepageCategories", "Catalog") @Html.Widget("home_page_before_products") @Html.Action("HomepageProducts", "Product") @Html.Widget("home_page_before_best_sellers") @Html.Action("HomepageBestSellers", "Product") @Html.Widget("home_page_before_news") @Html.Action("HomePageNews", "News") @Html.Widget("home_page_before_poll") @Html.Action("HomePagePolls", "Poll") @Html.Widget("home_page_bottom") </div></div>
Adding this code means, the customer data will be loaded from the database on the homepage.
Now, let's add the name on the homepage with this code:
@{ var currentCustomer = EngineContext.Current.Resolve<IWorkContext>().CurrentCustomer; if (!currentCustomer.IsGuest()) { var name = currentCustomer.GetAttribute<string>(SystemCustomerAttributeNames.FirstName); if (!string.IsNullOrEmpty(name)) { <div style="font-size:22px; color:red;"> <div id="addcustname" style="display: inline-block; ">Welcome to the store site:</div> <div id="custname" style="font-weight:bold;display: inline-block;">@name!</div> <br/><br /> </div> } } }
In this example, the homepage (index.cshml) code looks like this:
@using Nop.Core@using Nop.Core.Domain.Customers@using Nop.Core.Infrastructure@using Nop.Services.Common@{ Layout = "~/Views/Shared/_ColumnsOne.cshtml";}<div class="page home-page"> <div class="page-body"> @Html.Widget("home_page_top") @Html.Action("TopicBlock", "Topic", new { systemName = "HomePageText" }) @{ var currentCustomer = EngineContext.Current.Resolve<IWorkContext>().CurrentCustomer; if (!currentCustomer.IsGuest()) { var name = currentCustomer.GetAttribute<string>(SystemCustomerAttributeNames.FirstName); if (!string.IsNullOrEmpty(name)) { <div style="font-size:22px; color:red;"> <div id="addcustname" style="display: inline-block; ">Welcome to the store site:</div> <div id="custname" style="font-weight:bold;display: inline-block;">@name!</div> <br/><br /> </div> } } } @Html.Widget("home_page_before_categories") @Html.Action("HomepageCategories", "Catalog") @Html.Widget("home_page_before_products") @Html.Action("HomepageProducts", "Product") @Html.Widget("home_page_before_best_sellers") @Html.Action("HomepageBestSellers", "Product") @Html.Widget("home_page_before_news") @Html.Action("HomePageNews", "News") @Html.Widget("home_page_before_poll") @Html.Action("HomePagePolls", "Poll") @Html.Widget("home_page_bottom") </div></div>
Here is the result!
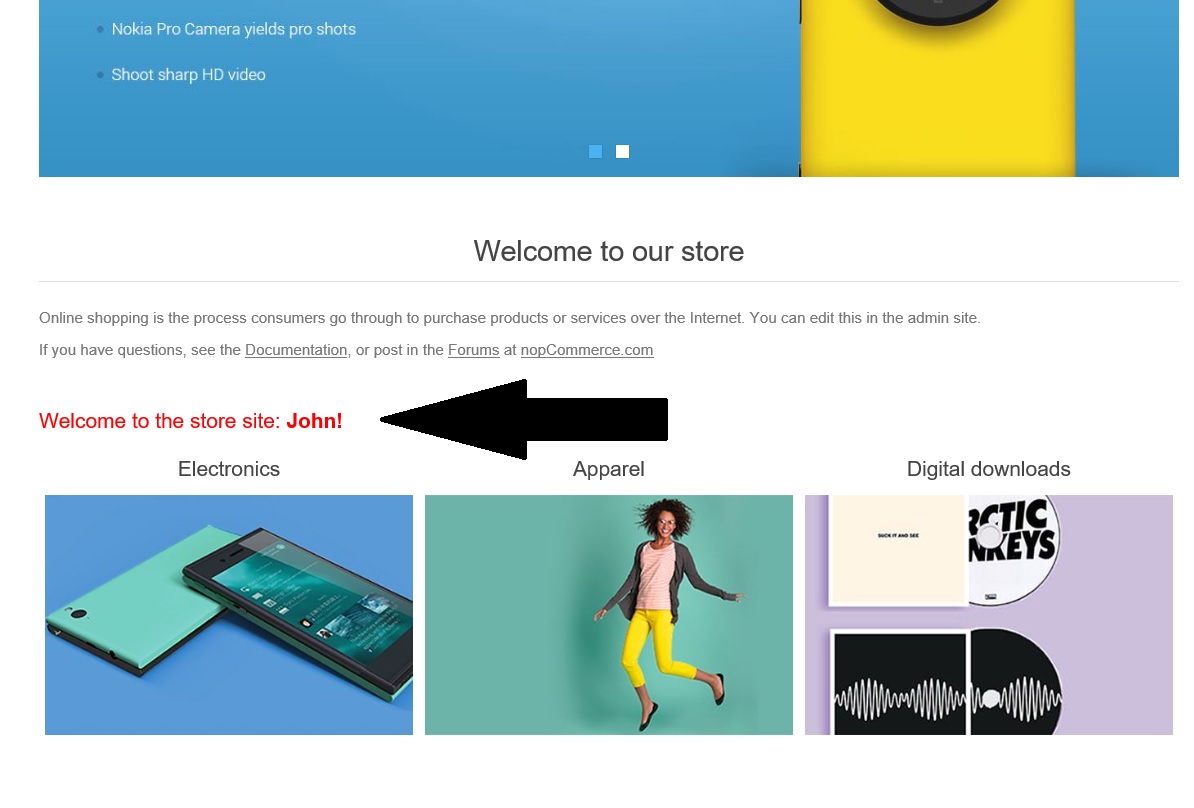
With the help of this easy hack (solution), you can make your nopCommerce site homepage a little more personalized!
Adding product ID to product detail page
Every store owner has a different set of requirements when it comes to displaying product information. Some prefer detailed product description while some prefer SKU numbers and some store owners prefer details specifications & so on...
nopCommerce already offers option to display MPN (manufacturer part number), SKU number and GTIN (global trade item number) etc.
But, what if a store owner wants to display Product ID number on product detail page? As of now, there is no out of the box option in nopCommerce to display Product ID. Here are the steps to make it happen!
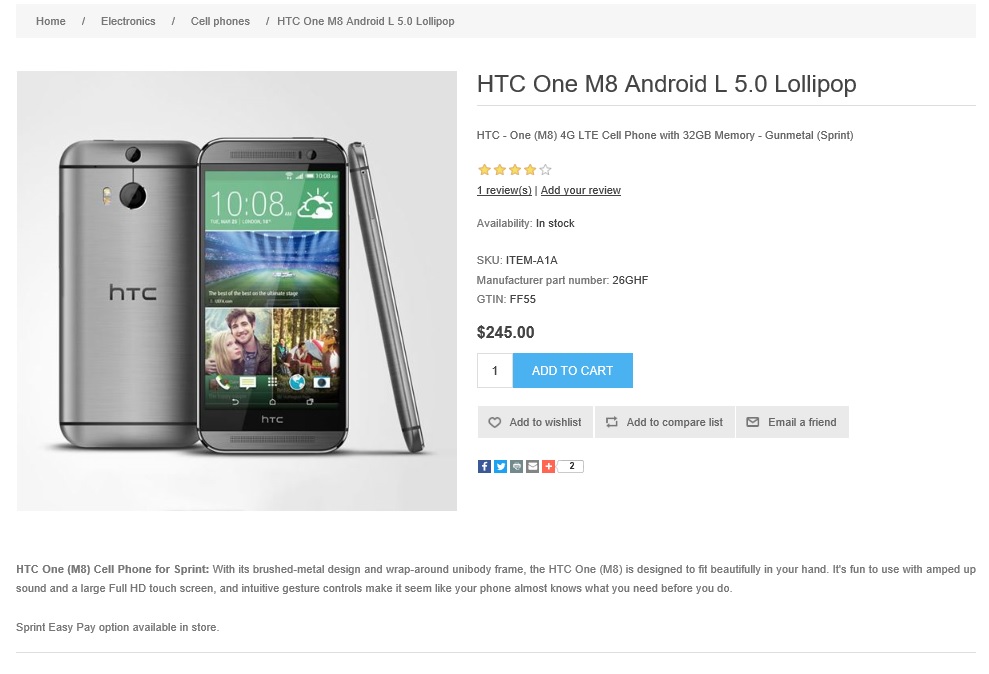
This is how default product page looks like:
Hack (Solution)
Go to: Nop.Web\Views\Product\ProductTemplate.Simple.cshtml
Open "ProductTemplate.Simple.cshtml" and look for this code -
<!--SKU, MAN, GTIN, vendor-->@Html.Partial("_SKU_Man_GTIN_Ven", Model)
We will add "@Model.Id" in order to display the product ID on this product template view. In order to do so, let's add the product ID like this:
<!--START CUSTOM CODE--><p><strong>Product ID: </strong>@Model.Id</p><br/><!--END CUSTOM CODE-->
This is how your code should look like:
<!--product reviews--> @Html.Partial("_ProductReviewOverview", Model.ProductReviewOverview) <!--manufacturers--> @Html.Partial("_ProductManufacturers", Model.ProductManufacturers) <!--availability--> @Html.Partial("_Availability", Model) <div style="border-style: groove; padding: 10px; width:200px;"> <!--START CUSTOM CODE--> <p><strong>Product ID: </strong>@Model.Id</p><br/> <!--END CUSTOM CODE--> </div> <br/> <!--SKU, MAN, GTIN, vendor--> @Html.Partial("_SKU_Man_GTIN_Ven", Model) <!--delivery--> @Html.Partial("_DeliveryInfo", Model) <!--sample download--> @Html.Partial("_DownloadSample", Model)
Now, save changed and go to the product detail page (on public store).
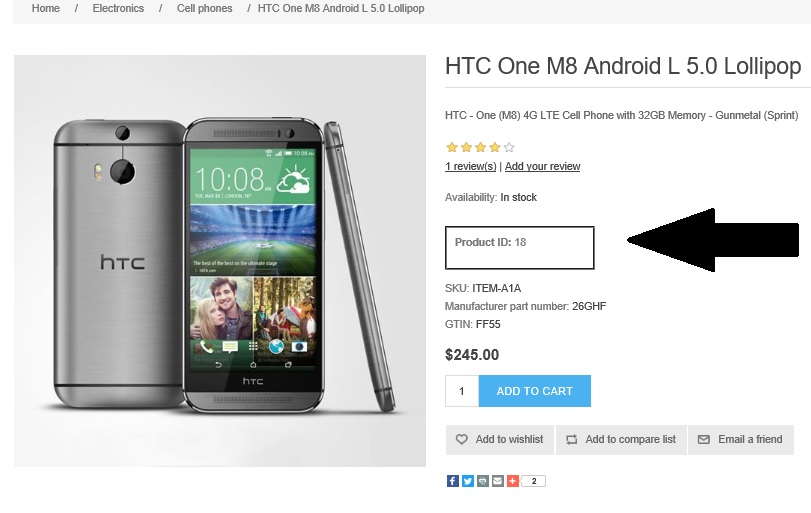
Here is the result!
I hope many nopCommerce users / developers will find this article (handy nopCommerce hacks) useful.