We all have seen that many websites post some of the content like address, phone number and social media links etc on the top header. This design strategy is quite useful in presenting your information to the online users right away.
Many online store sites like to post their contact information on the top header so that customer gets the access to the information from any page which is using the top header. This way, online customers do not have to spend time in search for contact or about us page.
You can use top header section for posting content like:
- Customer service phone number
- Store address
- Customer service email address
- Live chat button
- Social media links
Today, we will go over the process of adding content to top header in nopCommerce.
Go to: Views \ Shared \ Header.cshtml
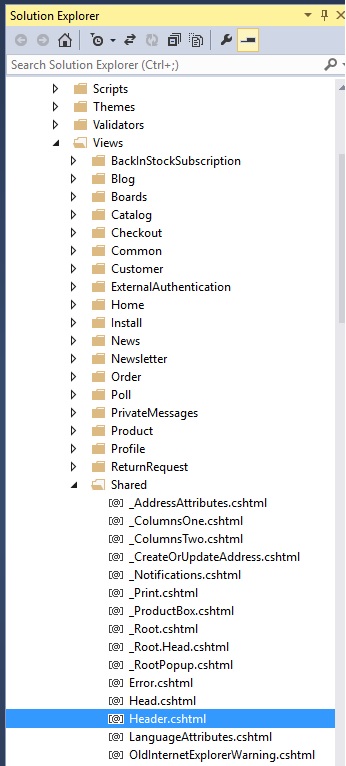
Open "Header.cshtml" file and find this code:
<div class="header"> @Html.Widget("header") <div class="header-upper"> <div class="header-selectors-wrapper"> @Html.Action("TaxTypeSelector", "Common") @Html.Action("CurrencySelector", "Common") @Html.Action("LanguageSelector", "Common") @Html.Widget("header_selectors") </div> <div class="header-links-wrapper"> @Html.Action("HeaderLinks", "Common") @Html.Action("FlyoutShoppingCart", "ShoppingCart") </div> </div> <div class="header-lower"> <div class="header-logo"> <a href="@Url.RouteUrl("HomePage")"> <img title="" alt="@storeName" src="@Url.Content(logoPath)"> </a> </div> <div class="search-box store-search-box"> @Html.Action("SearchBox", "Catalog") </div> </div></div>
You can adjust the position of the custom content as per your design requirements but in the example, we will post custom content at the very top of the header.
Let's try to add some text right "above" this:
<div class="header-links-wrapper">
So, the code should look something like this:
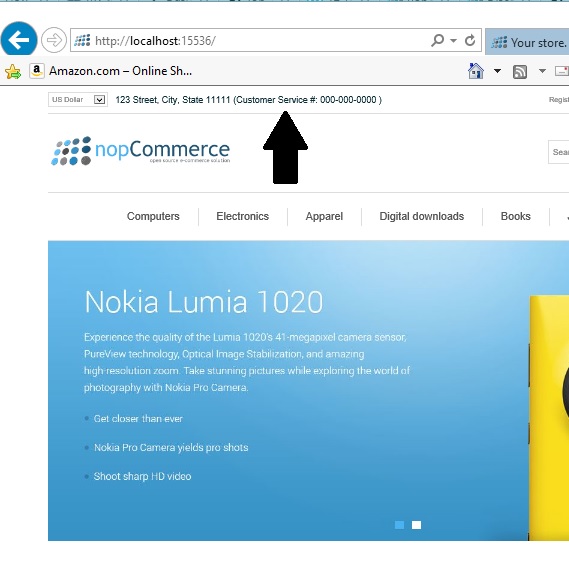
<div class="header"> @Html.Widget("header") <div class="header-upper"> <div class="header-selectors-wrapper"> @Html.Action("TaxTypeSelector", "Common") @Html.Action("CurrencySelector", "Common") @Html.Action("LanguageSelector", "Common") @Html.Widget("header_selectors") </div> <!--START: Custom Text--> <div id="customheadercontent" style="font-size: 15px; color: #0B2F3A; float: left; height: 46px; line-height: 46px;"> 123 Street, City, State 11111 (Customer Service #: 000-000-0000 ) </div> <!--END: Custom Text--> <div class="header-links-wrapper"> @Html.Action("HeaderLinks", "Common") @Html.Action("FlyoutShoppingCart", "ShoppingCart") </div> </div> <div class="header-lower"> <div class="header-logo"> <a href="@Url.RouteUrl("HomePage")"> <img title="" alt="@storeName" src="@Url.Content(logoPath)"> </a> </div> <div class="search-box store-search-box"> @Html.Action("SearchBox", "Catalog") </div> </div></div>
Make sure to save changed and go to public store to see your custom content on the top header like this:
A copy of this article is also available on Arvixe Blog.
If you are using the default out of the box theme then the name of the theme will be "DefaultClean". Let me know if you have any question(s).