What do you need to add a custom page in nopCommerce?
Source Code: First, you will need full source code of nopCommerce in order to add a custom page. If you are wondering, what is the difference between no source (web) and source code of nopCommerce, please look at this article: Difference between No Source / Web OR Source Code of nopCommerce
You can download the full source code for nopCommerce from GitHub: https://github.com/nopSolutions/nopCommerce/releases/
Note: In this article we will be using the latest version of nopCommerce (i.e. nopCommerce 3.70).
Before we go further, you need to understand how custom pages are different from topic (pages). Topics (pages) are free form content blocks that can be displayed on your site, either embedded within other pages, or on a page of their own. These are often used for FAQ pages, policy pages, special instructions, and so on. On the other hand, custom pages gives you a full control over the functionality of the page. A topic (page) can be embedded within your custom page but you can’t embed a custom page into a topic page.
I would like to point out one important thing here that if you are adding / creating a new custom page in your project / solution, and if you plan to upgrade your nopCommerce version, you will have to add the custom page once again in your updated solution.
Please follow the following steps:
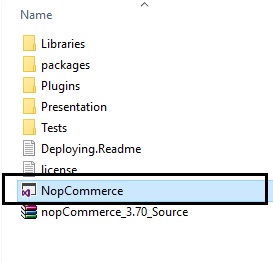
Step 1) Open the nopCommerce solution in Visual Studio (remember you need full source code)
Step 2) Now, right click the "Controllers" folder > Select "Add" > Select "Controller.."

What are Controllers in ASP.NET MVC?
Controllers are the components that handle user interaction, work with the model, and ultimately select a view to render that displays UI. In an MVC application, the view only displays information; the controller handles and responds to user input and interaction. For example, the controller handles query-string values, and passes these values to the model, which in turn might use these values to query the database. (Source: MSDN)
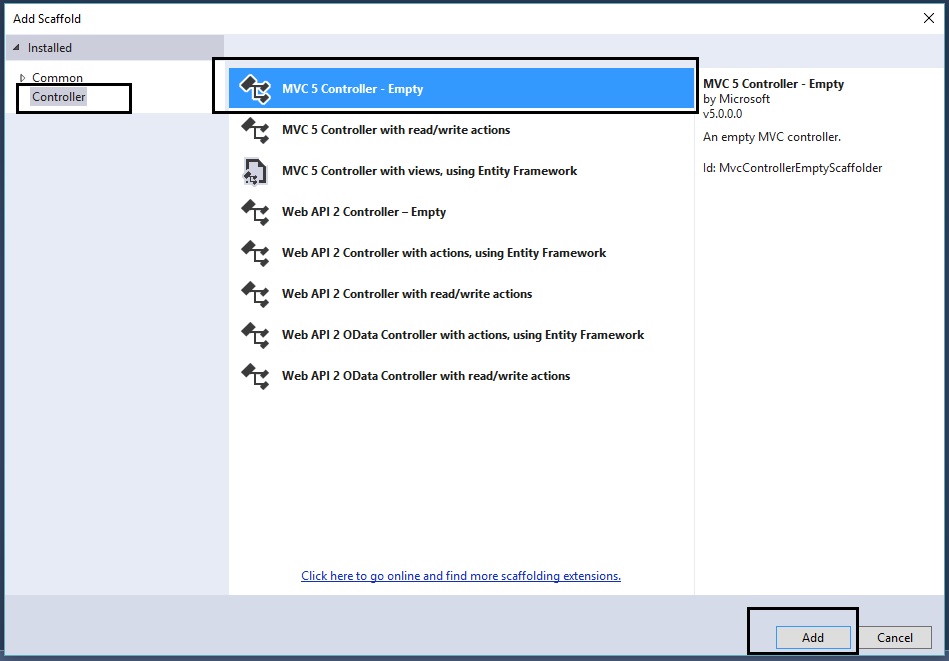
Step 3) In the add scaffold window, select the “MVC 5 Controller – Empty” and click “Add”
Step 4) Name the controller: I am naming it by changing the controller name from "DefaultController" to "MyNewPageController"
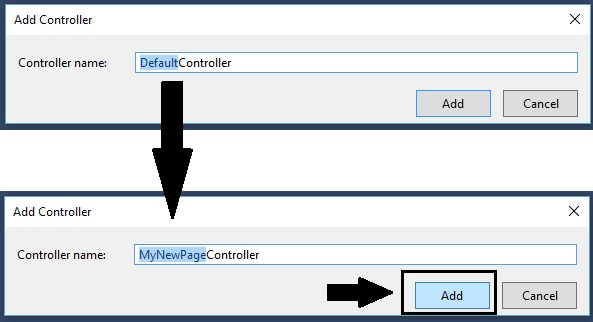
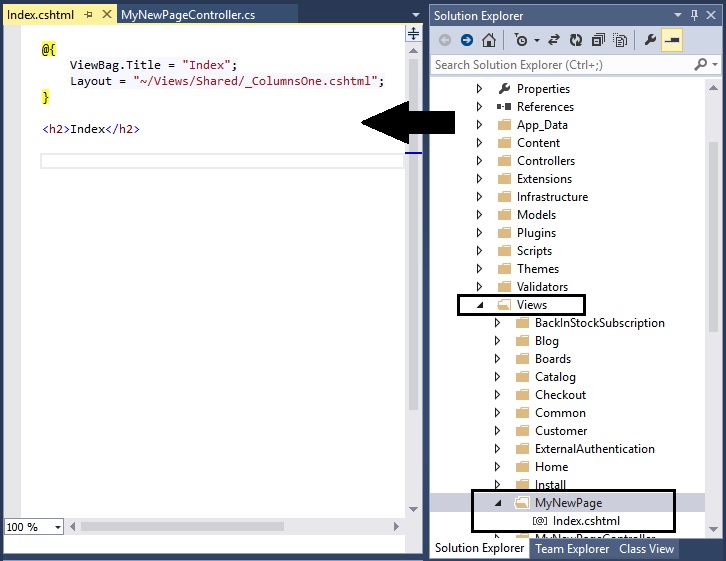
Step 5) Click "Add" and you will see the result (see below) in solution explorer as a new controller page called (in my case: "MyNewPageController.cs")
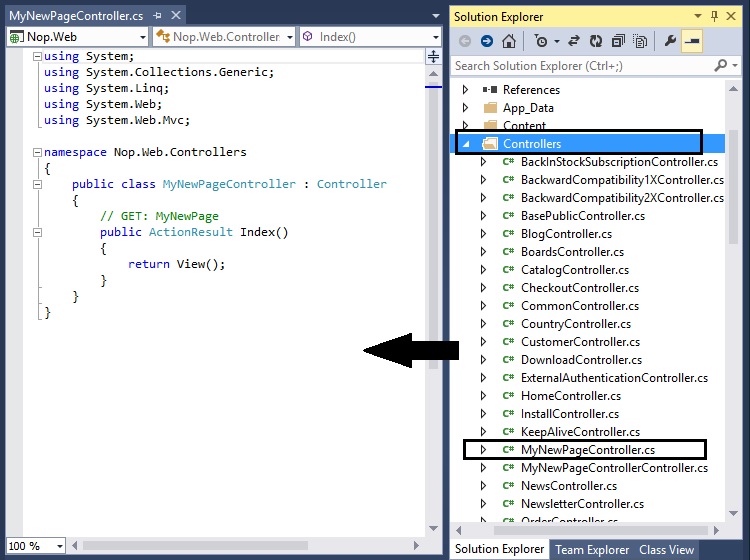
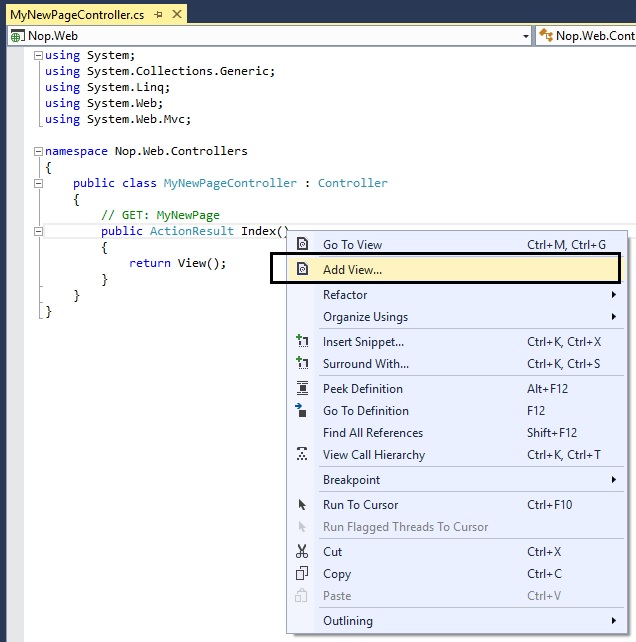
Step 6) On the left side (code): Right click on the Public ActionResult Index( ) line and select "Add View..."
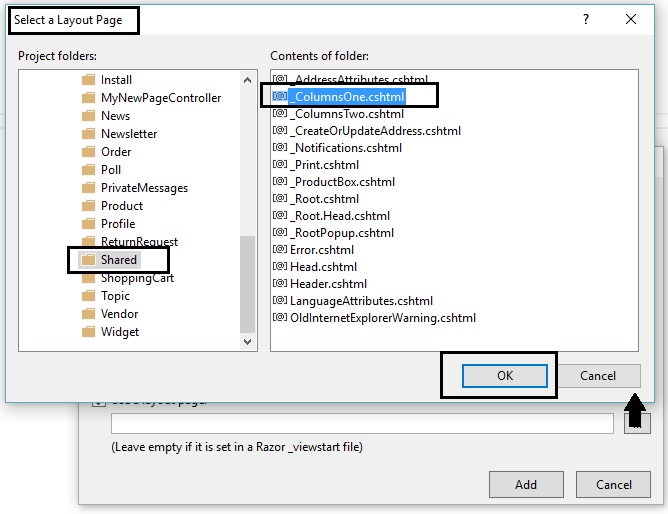
I am selecting "_ColumnsOne.cshtml" in this case (and press OK)
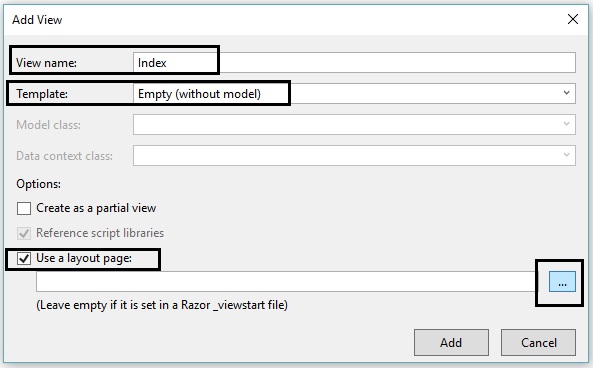
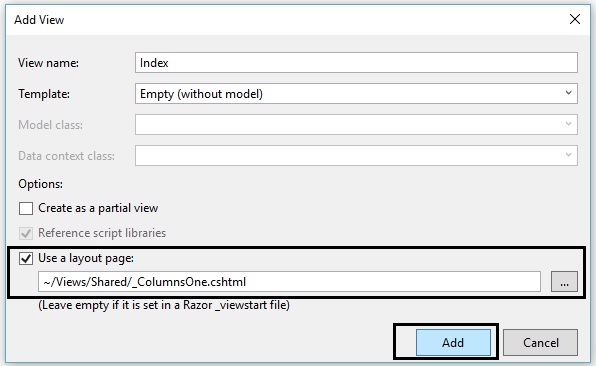
After selecting your layout page, click on the “Add” button
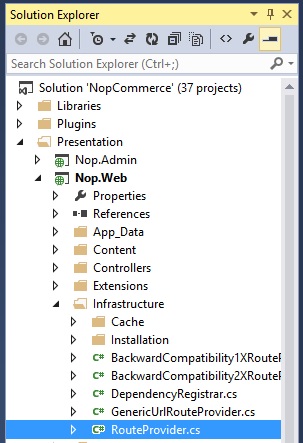
Step 10) Now, it is time to map the route so that solution can locate the new page. You will see different mapped routes like home page, login, register etc. Similar to that you need to map the route of your new page by adding the code like this:
new { controller = "MyNewPage", action = "Index" },"MyNewPage" is the name of your controller
routes.MapLocalizedRoute("ThisIsMyNewCustomPage", "MyNewPage/","MyNewPage" is the name of your View folder
using System.Web.Mvc;using System.Web.Routing;using Nop.Web.Framework.Localization;using Nop.Web.Framework.Mvc.Routes;namespace Nop.Web.Infrastructure{ public partial class RouteProvider : IRouteProvider { public void RegisterRoutes(RouteCollection routes) { //We reordered our routes so the most used ones are on top. It can improve performance. //home page routes.MapLocalizedRoute("HomePage", "", new { controller = "Home", action = "Index" }, new[] { "Nop.Web.Controllers" }); //widgets //we have this route for performance optimization because named routes are MUCH faster than usual Html.Action(...) //and this route is highly used routes.MapRoute("WidgetsByZone", "widgetsbyzone/", new { controller = "Widget", action = "WidgetsByZone" }, new[] { "Nop.Web.Controllers" }); //MyNewPage routes.MapLocalizedRoute("ThisIsMyNewCustomPage", "MyNewPage/", new { controller = "MyNewPage", action = "Index" }, new[] { "Nop.Web.Controllers" }); //login routes.MapLocalizedRoute("Login", "login/", new { controller = "Customer", action = "Login" }, new[] { "Nop.Web.Controllers" });Routing in nopCommerce
Step 11) Now, recompile your solution and press F5
The URL in the browser (address bar) might be something like this - http://localhost:15536/Views/MyNewPage/Index.cshtml

Hope it helps - Let me know if you have any questions or comments.
How can it possible in nopcommerce 3.09, i am geting error.
Please help me,
What error message are you getting? Please provide some details including the steps that you have followed to create a new page in your nopCommerce site.