Today, we will go over the process of adding description in featured categories on homepage in nopCommerce.
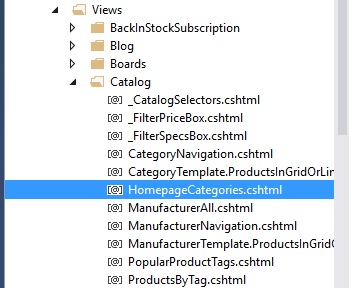
In your code, go to: Views / Catalog / HomepageCategories.cshtml
Open the file "HomepageCategories.cshtml" and look for this code:
<div class="picture"> <a href="@Url.RouteUrl("Category", new { SeName = item.SeName })" title="@item.PictureModel.Title"> <img alt="@item.PictureModel.AlternateText" src="@item.PictureModel.ImageUrl" title="@item.PictureModel.Title" /> </a> </div>Now, add the code for category description like this:
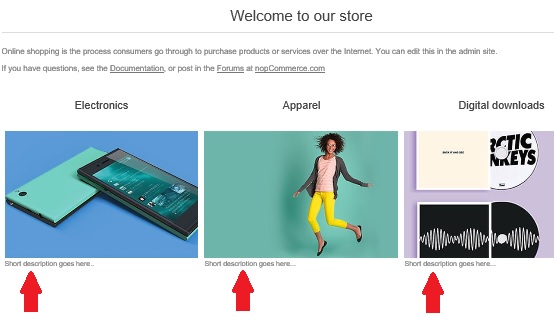
<div class="picture"> <a href="@Url.RouteUrl("Category", new { SeName = item.SeName })" title="@item.PictureModel.Title"> <br /> <div class="category-description"> @Html.Raw(item.Description) </div> <img alt="@item.PictureModel.AlternateText" src="@item.PictureModel.ImageUrl" title="@item.PictureModel.Title" /> </a> </div>You can use CSS (with a custom class) to style the description if that's what your requirement it. Make sure the description is "not" blank for the featured categories in the administration section. By adding the description code, the output should look like this:
A copy of this article is also available on Arvixe Blog.