Today, we will go over the process of adding and editing the weights and dimensions in the default system as well as setting the primary weight and dimension used in nopCommerce.
Let us go over the process of how to add weights and dimensions.
Managing Weights
Go to: Administration section > Configuration > Measures > Weights.
The Weights window is displayed, as follows:
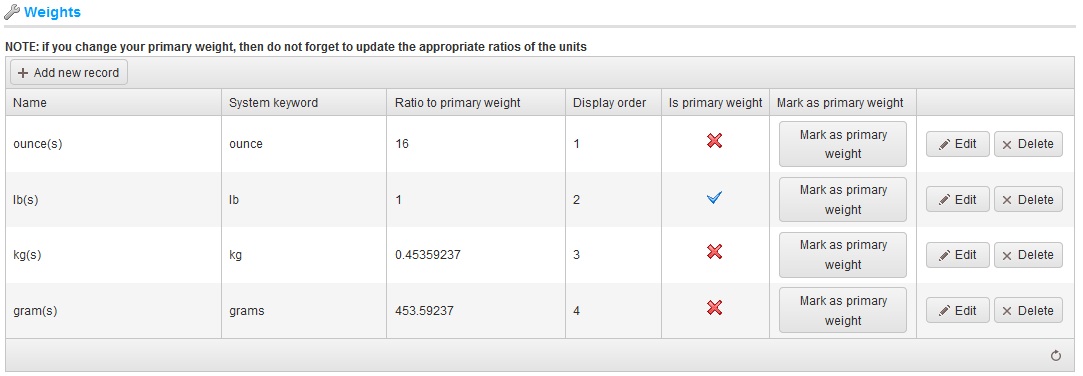
Setting primary weight: You can set the primary weight by clicking Select in the Mark as primary weight column, of the required weight.
If you wish to add a new weight record, you can do so by simply clicking on "Add new record" button:
While defining a new weight record, please make sure of the following:
- Name: Enter the name of the new dimension.
- System: Enter a system keyword for this weight.
- Ratio to primary weight: Enter the ratio against the primary weight.
- Display order: Enter the display order of the weight in the list. A value of 1 represents the top of the list.
Make sure to click "Save". The new dimension is added to the Weight tab.
Managing Dimensions
Go to: Administration section > Configuration > Measures > Dimensions.
The Dimensions window is displayed, as follows:
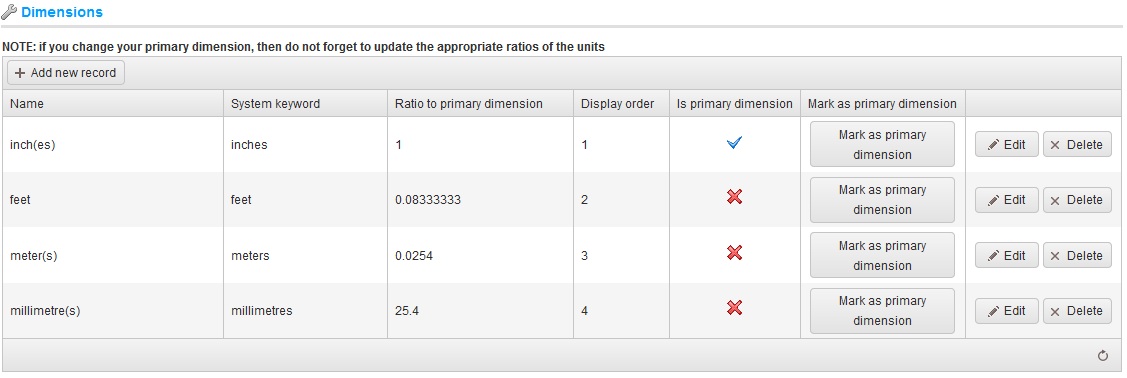
Setting primary dimension: You can set the primary dimension by clicking Select in the Mark as primary dimension.
If you wish to add a new weight dimension, you can do so by simply clicking on "Add new record" button:
Make sure to click "Save". The new dimension is added to the Weight tab.
Managing Dimensions
Go to: Administration section > Configuration > Measures > Dimensions.
The Dimensions window is displayed, as follows:
Setting primary dimension: You can set the primary dimension by clicking Select in the Mark as primary dimension.
If you wish to add a new weight dimension, you can do so by simply clicking on "Add new record" button:
While defining a new dimension record, please make sure of the following:
- Name: Enter the name of the new dimension.
-System keyword: Enter a system keyword for this dimension.
- Ratio to primary dimension: Enter the ratio against the primary dimension.
- Display order: Enter the display order of the dimension in the list. A value of 1 represents the top of the list.
Make sure to click "Save". The new dimension is added to the Dimensions tab.