Recently in 3.60 version, nopCommerce added a feature in the blog section where store admin (or authors) can post a blog overview so that whole blog post is not visible on the initial blog page. But, there is no additional feature out of the box to add (or upload) an image for your blog post.
Today, we will go over the process of adding an image to blog post as a workaround. There is no need to install (or buy) plugins or customize your code, as long as you know HTML, you can accomplish this very easily.
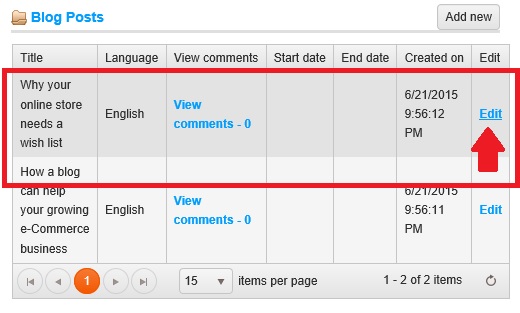
Go to: Administration > Content Management > Blog > Blog Posts
Now, pick any blog post where you would like to add an image.

One the "Edit blog post details" page, you will see the "Body Overview" section where the overview text is present.
"Body Overview": Brief overview of blog post. If specified, then it will be used instead of full body on the main blog page. HTML is supported.
Simple add HTML image tag with the image link in it like this (right above the text and add a line brake):

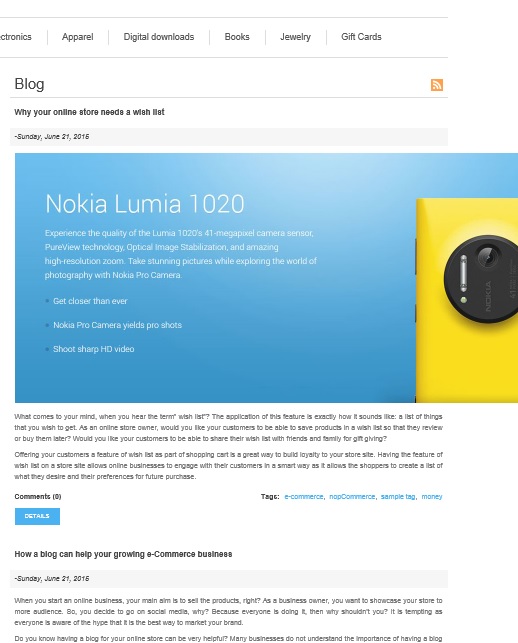
That's it - Try viewing the blog section of your site and you will see an image right with your blog post like this:

In case, you have a large image, you might see the image going out of the layout (this is normal). How to fix it correctly? Well, you can specify the dimensions like width and height but remember, if you add specific dimensions, the image "won't" be responsive. The correct way to add an image is to simply add 100% width and it will adjust itself automatically.
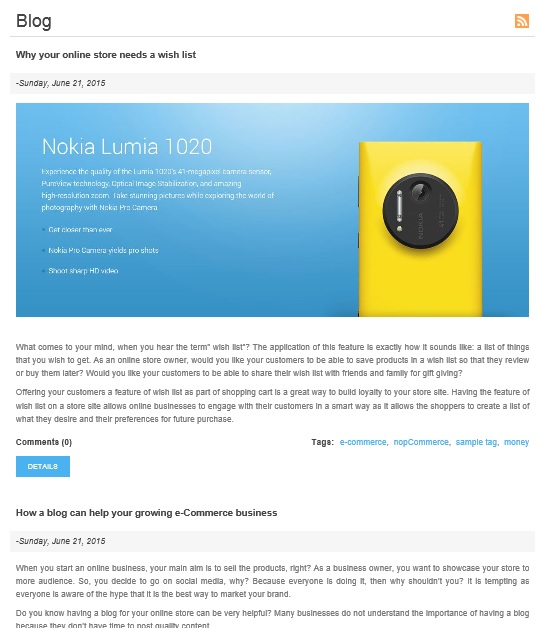
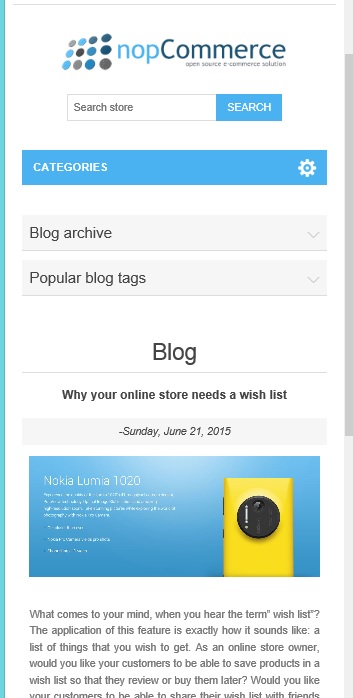
<img src="link goes here for the image" alt="" style="width:100%" /><br/>As soon as you add "width: 100%", the image should be fixed on the blog page (desktop and mobile).
Results:


Hope it helps!
